

This blog post will demonstrate how to connect and transfer files to an SFTP-enabled storage account with various SFTP clients.
These days, the Secure File Transfer Protocol (SFTP) is also supported by blob storage, which means you can securely connect to Blob Storage using an SFTP endpoint. This allows you to utilize SFTP on a storage account for file access, transfer, and management purposes
In previous blog posts, I already showed how you can create an Azure storage account with SFTP support enabled within a specific subscription and how to create a local user that uses password authentication to grant access to one or more root containers on that specific storage account with Azure PowerShell.
Once you have enabled SFTP support for a specific storage account and created a local user with the necessary access permissions to grant access to one or more root containers on that storage account, you can utilize an SFTP client to establish a connection and transfer files.
For this, you have the option of using various SFTP clients, including Windows Terminal (with OpenSSH), Putty, or WinSCP. Below, I will provide instructions on how to connect and transfer files using each of these clients.
Prerequisites
- An Azure subscription (preferably more than one if you want to follow the Enterprise-Scale architecture).
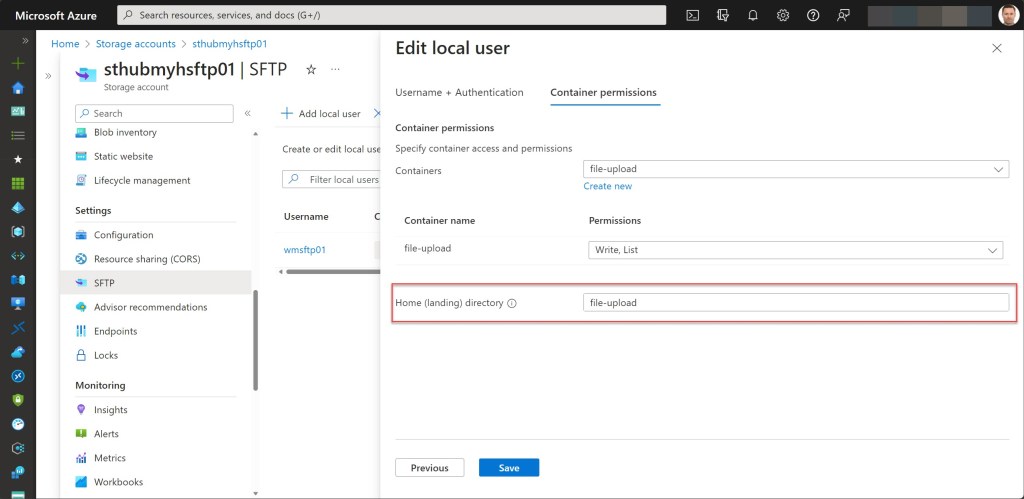
- An existing storage account with SFTP support enabled, a container and a local user.
- The SSH Password or SSH public key to authenticate with the local user

Connect and transfer files using Windows Terminal
OpenSSH is a connectivity tool that utilizes the SSH protocol to sign-in remotely to, for example, an SFTP enabled storage account and ensures encryption of all traffic between the client and server to prevent eavesdropping, connection hijacking, or any other potential attack.
You can use any OpenSSH-compatible client, like Windows Terminal or Windows PowerShell, to make a connection.
To use it with Windows Terminal, you must first install the OpenSSH Client. To do this, open a Windows Terminal PowerShell session as an administrator, and then execute the following cmdlet to complete the installation.
## Install the OpenSSH Client

Add-WindowsCapability -Online -Name OpenSSH.Client~~~~0.0.1.0

Once installed, you can initiate the SFTP connection by executing the following cmdlet. When prompted, enter the SSH Password for the local user.
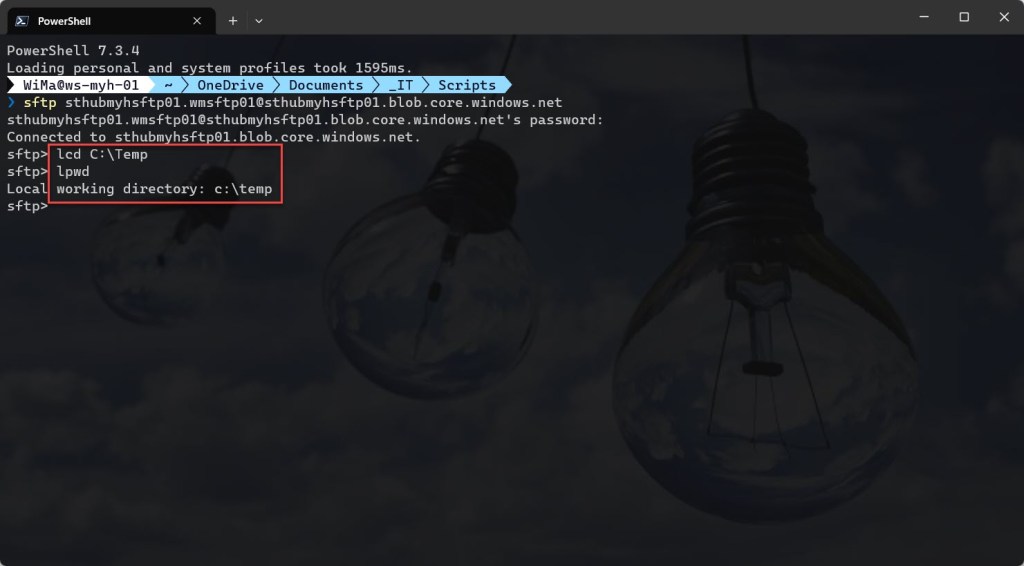
sftp <storage_account_name>.<localuser_name>@<endpoint>
The username used to connect to the storage endpoint, is a combination of the storage account name and the local username. In my example, the <storage_account_name> is “sthubmyhsftp01” and the <local-username> is “wmsftp01”. When combined, this forms “sthubmyhsftp01.wmsftp01”.

To upload a file, begin by navigating to the desired directory on the local system. You can do this by entering the command “lcd <directory name or path>“. You can validate the current working directory by typing in the command “lpwd.”
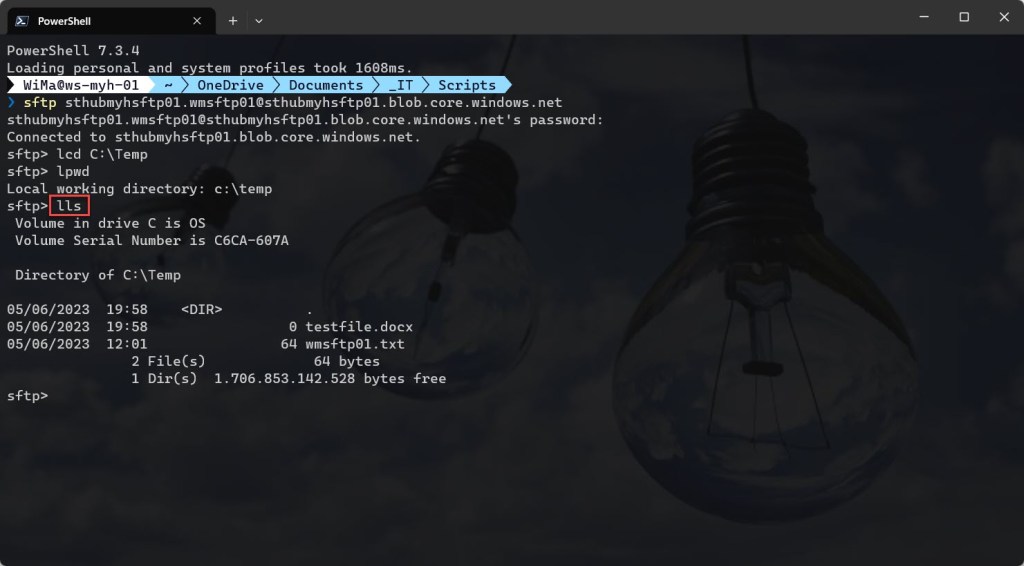
Next, you can view the contents of the current directory by entering the command “lls.”
To upload a specific file, simply use the command “put <filename> “, which will copy that local file to your SFTP location.

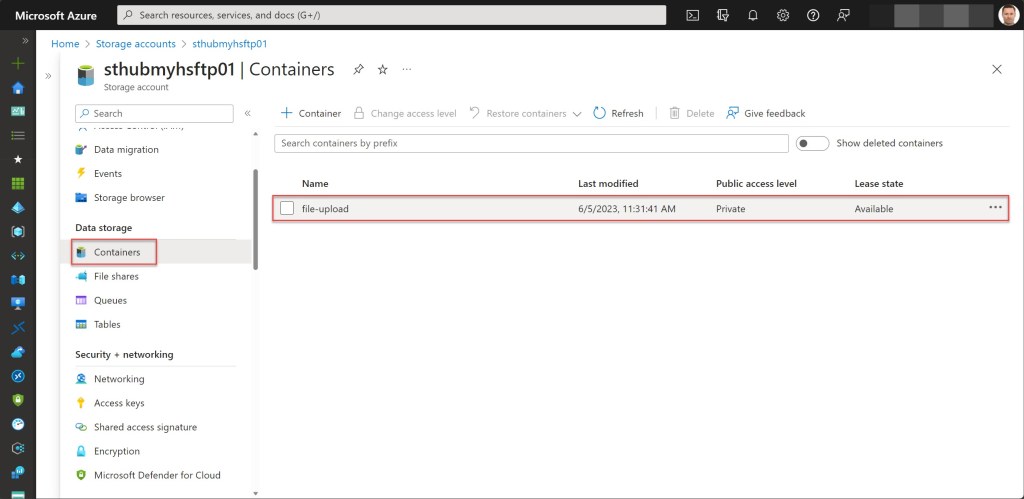
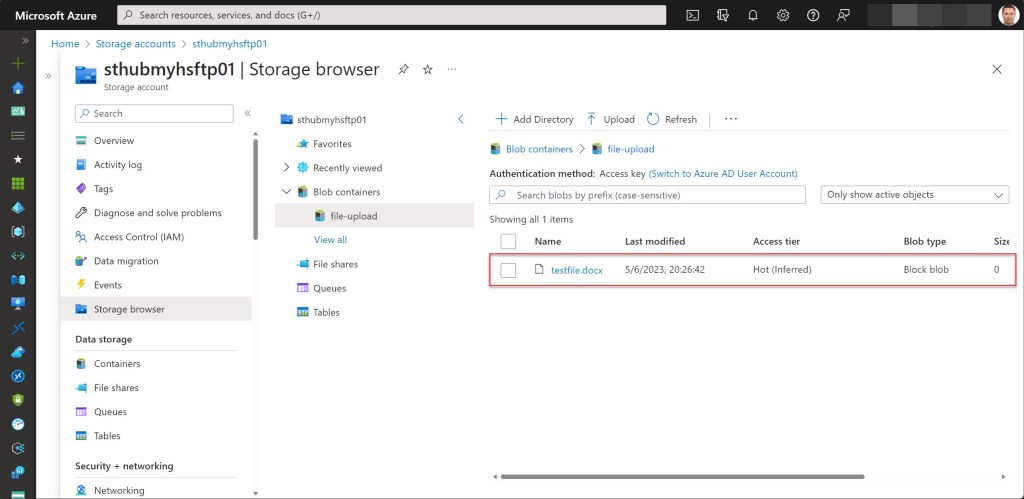
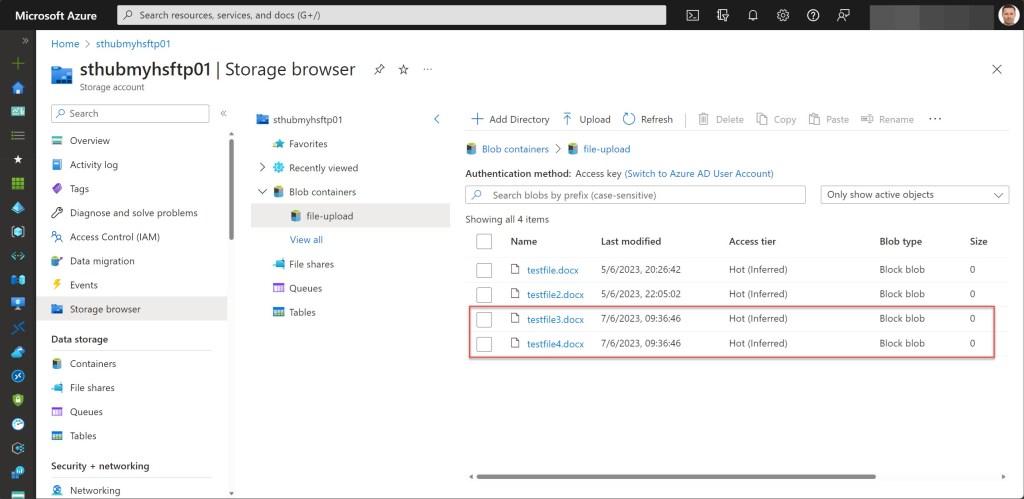
When you then use the Storage browser and temporarily allow storage account key access in the Azure Portal, you will see that the file has been successfully uploaded.
Connect and transfer files using Putty
Next to using Windows Terminal in combination with OpenSSH, you can also use the open-source SSH and telnet client Putty, which you can download over here.
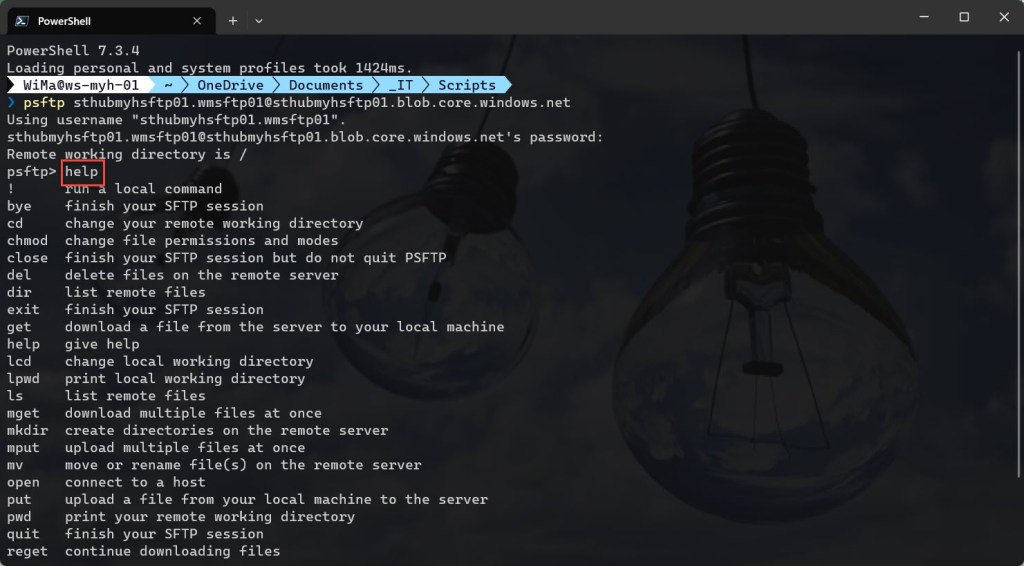
To transfer a file, you can use PSFTP, the Secure File Transfer Protocol (SFTP) client of PuTTY. To use it, just open a command prompt or Windows Terminal and type in the following cmdlet. When prompted, enter the SSH Password for the local user.
psftp <storage_account_name>.<localuser_name>@<endpoint>

You can use the “help”” command to get an overview of the available parameters you can use.
Similar to using OpenSSH, use the command “lcd <directory name or path>” to go to the desired directory to upload a file. Then use the command “put <filename> ” to transfer a particular local file to your SFTP destination.
Just like when using OpenSSH, use the command “lcd <directory name or path>” to navigate to the desired directory for transferring a file. Then, utilize the command “!dir ” to get an overview of all local files in that specific directory.
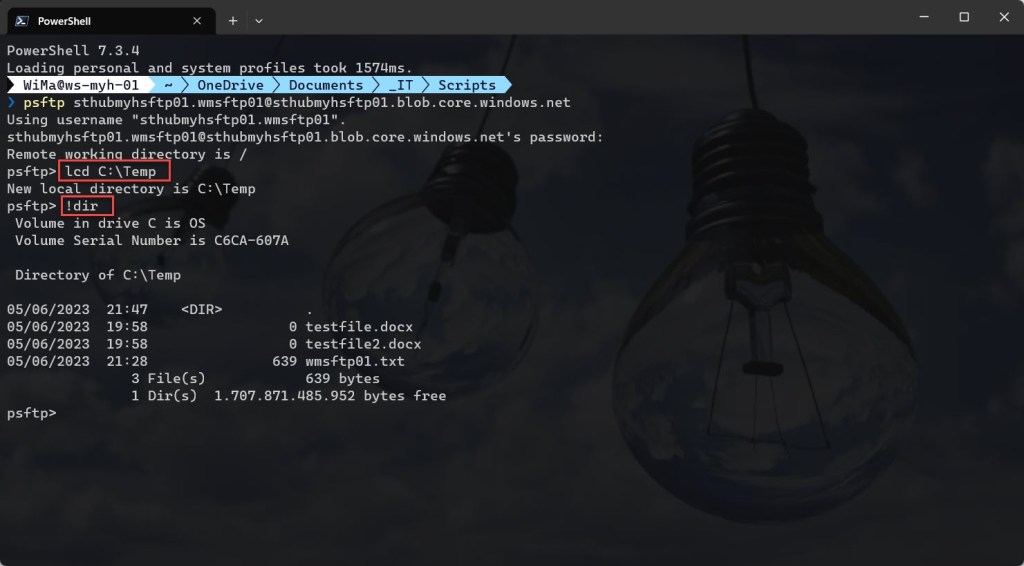
Then just transfer a file by running the command “put <filename> “


Connect and transfer files using WinSCP
Next to all the options already shown, you can also use WinSCP to transfer files to your SFTP-enabled storage account.
WinSCP is a widely used open-source SFTP, FTP (File Transfer Protocol), and SCP (Secure Copy) client for Windows operating systems, which you can download over here.
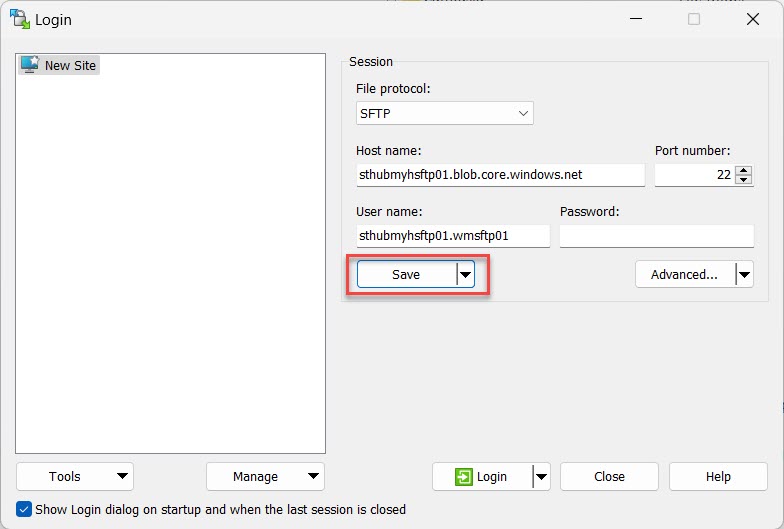
To transfer a file, open WinSCP. In the “Login” pop-up window, enter the Host name, User name and password.
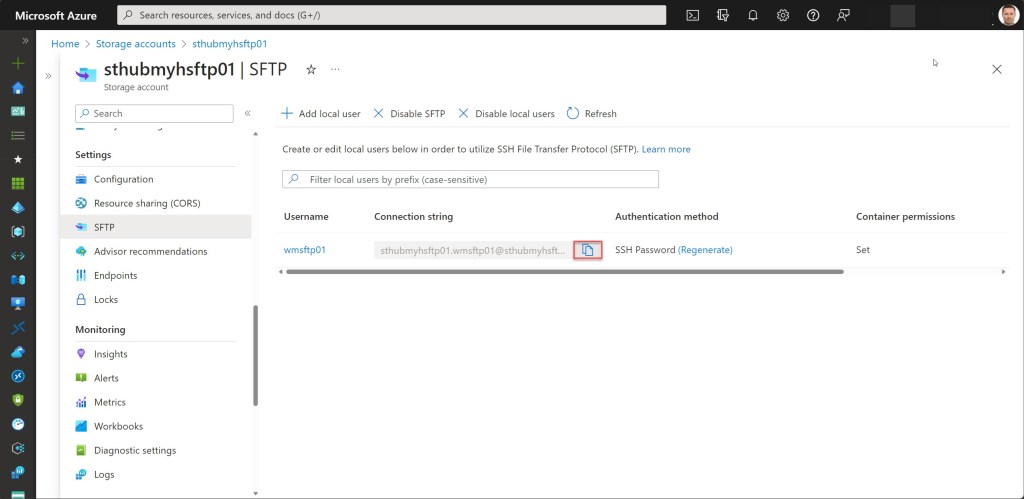
You can also simple copy the Connection string and past it in the Host name field, which will automatically populate all the necessary field with the correct input.
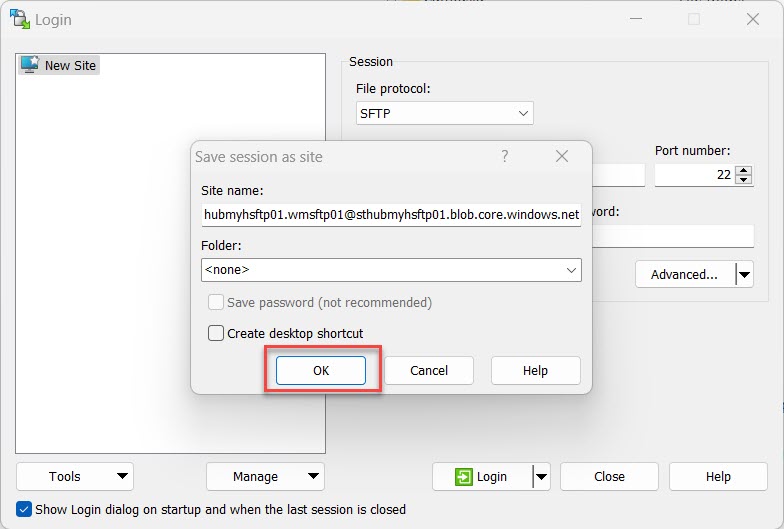
Once all fields are filled in, you can save your connection settings by clicking the “Save” button.
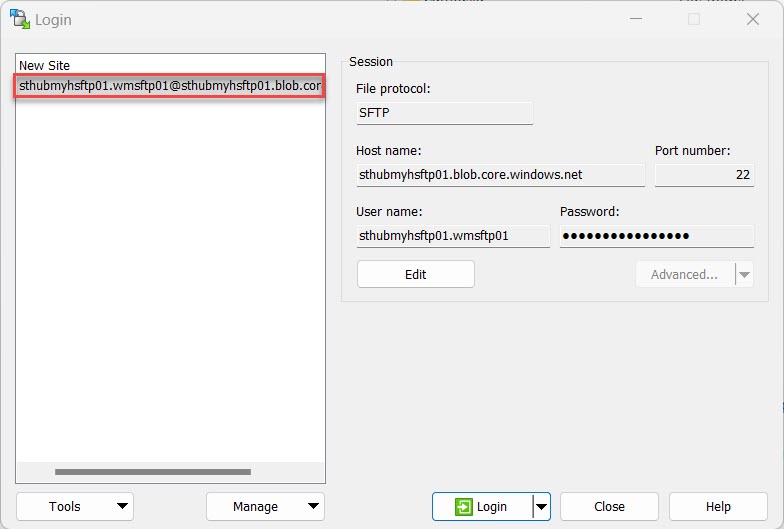
You can now proceed to log in by pressing the “Login” button.

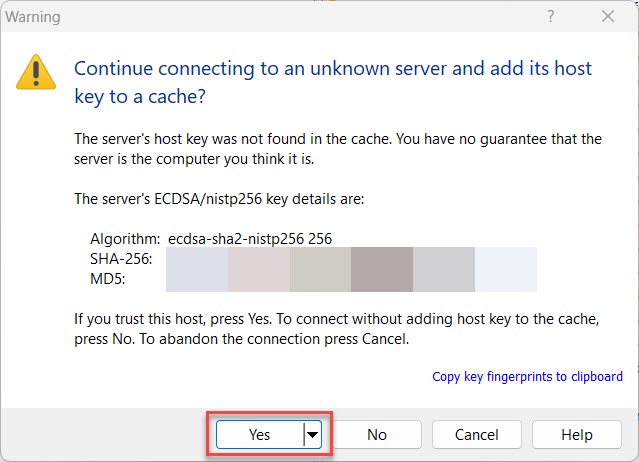
Verify the host key and click “Yes” to proceed.
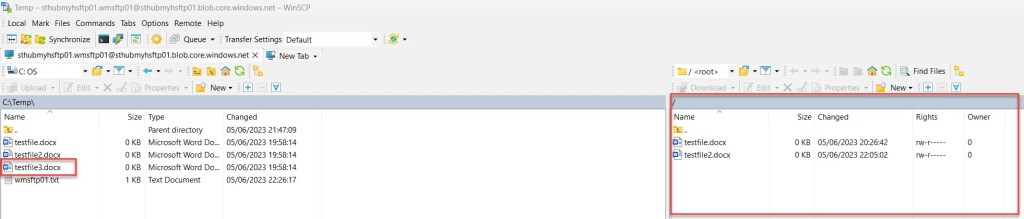
Once you have successfully connected to your SFTP-enabled storage account, navigate to the folder on the left side of the window where the files you want to transfer are located.
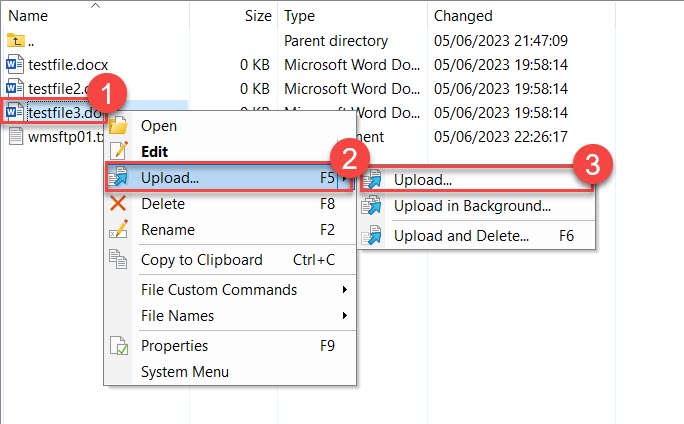
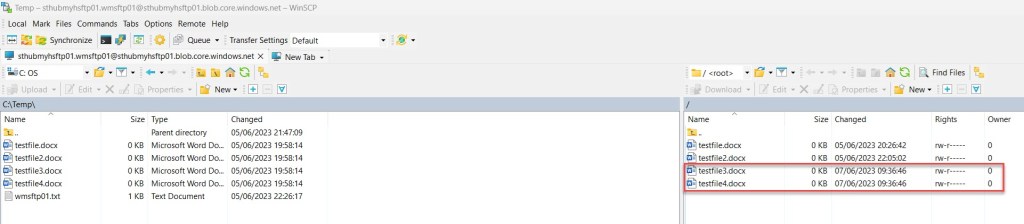
From there, you can easily select and drag the local files, dropping them onto the remote file panel. Alternatively, you can right-click on a file and choose “Upload…” to initiate the transfer. Click “OK” when the Upload pop-up window appears.

Conclusion
Enabling SFTP on an Azure storage account allows users to securely transfer files to and from the storage account using SFTP clients or tools. In this blog post, I demonstrated how to use some of those client tools to transfer files.
If you have any questions or recommendations about it, feel free to contact me through my Twitter handle (@wmatthyssen) or to just leave a comment.

Nice write-up, Wim, very detailed – thank you! (Need to set up an SFTP server in Azure, and comparing SFTP-enabled Blob storage to a standalone VM for that.)
LikeLike