In this blog post, you’ll learn how to create or update an Azure Arc AWS multicloud connector to enable S3 bucket to Azure Storage account migration scenarios.
Amazon Simple Storage Service (Amazon S3) is AWS’s scalable object storage service used to store and retrieve data such as files, backups, logs, and application data.
An S3 bucket, just like an Azure Storage account in Azure, acts as a logical container for these objects and supports features such as high durability, encryption, access control, and lifecycle management.
n some scenarios, especially when working in a multi-cloud environment, you may need to move data stored in an Amazon S3 bucket to an Azure Storage account. This allows you to use that data within Azure services or to support other cloud-to-cloud use cases. In these situations, Azure Arc together with Azure Storage Mover can help.
In this blog post, I start by explaining the first step: how to create or update an Azure Arc–enabled AWS Multicloud connector*. This connector establishes a trusted integration between Azure and other public cloud platforms, such as AWS, and is a prerequisite for enabling S3 to Azure Storage migration scenarios.
*In a previous blog post, I explain in more detail what the Azure Arc–enabled multicloud connector is and what it can do. You can read that post here
Table of Contents
- Prerequisites
- Create an AWS multicloud connector to move data
- Add the Storage – Data Management solution to an existing AWS multicloud connector
- Conclusion
Prerequisites
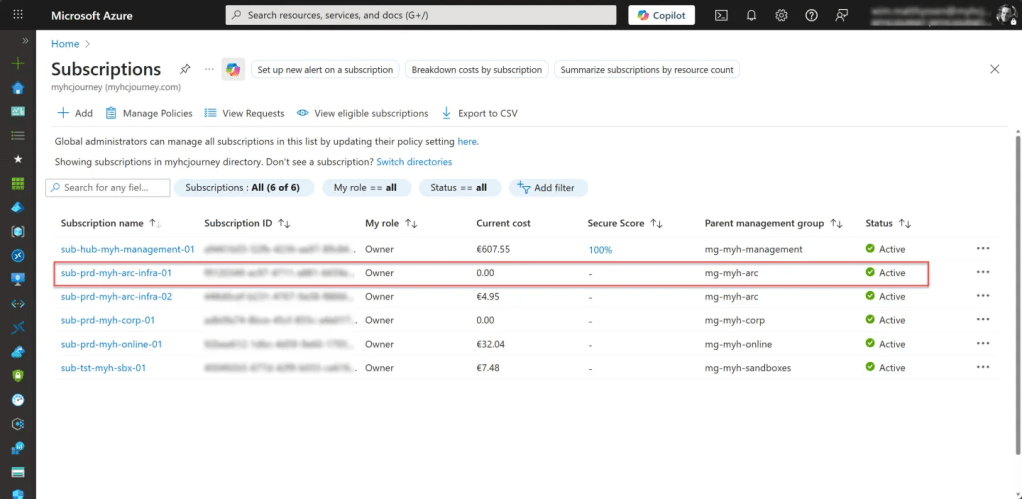
- An Azure subscription, preferably more than one if you plan to follow the Cloud Adoption Framework (CAF) enterprise-scale architecture. This includes a connectivity and/or management subscription, with at least one ARC subscription (landing zone) for deploying your Arc-related resources.
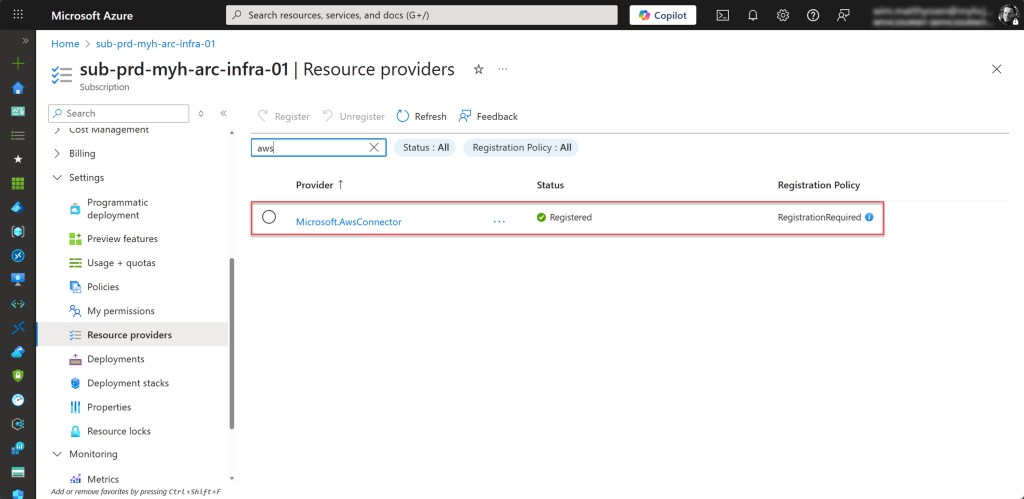
- On the Azure Arc subscription you are using, the required resource providers for the AWS multicloud connector must be registered. These are: Microsoft.HybridCompute, Microsoft.HybridConnectivity, and Microsoft.AwsConnector.
- An Azure administrator account with the required permissions, preferably assigned through membership in a security group.
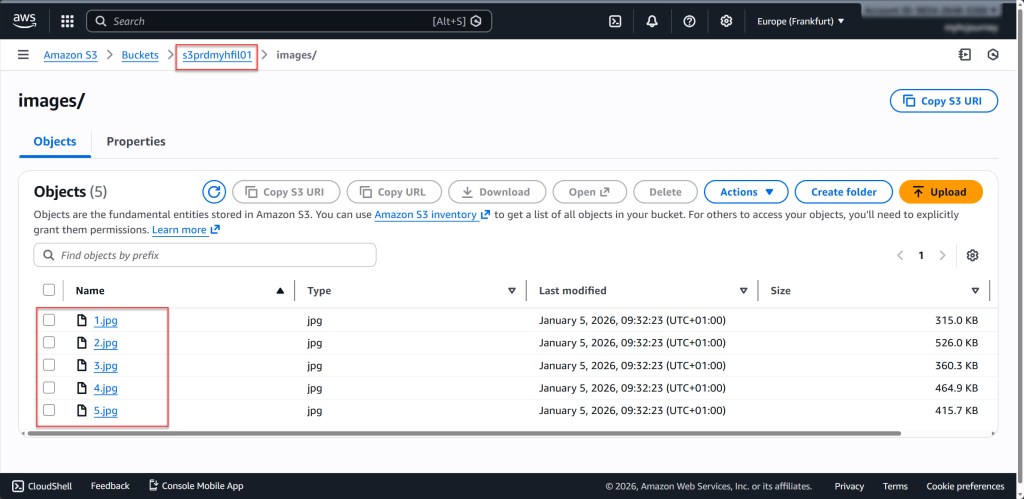
- You need at least one AWS S3 bucket that is already running, available, and contains some data.
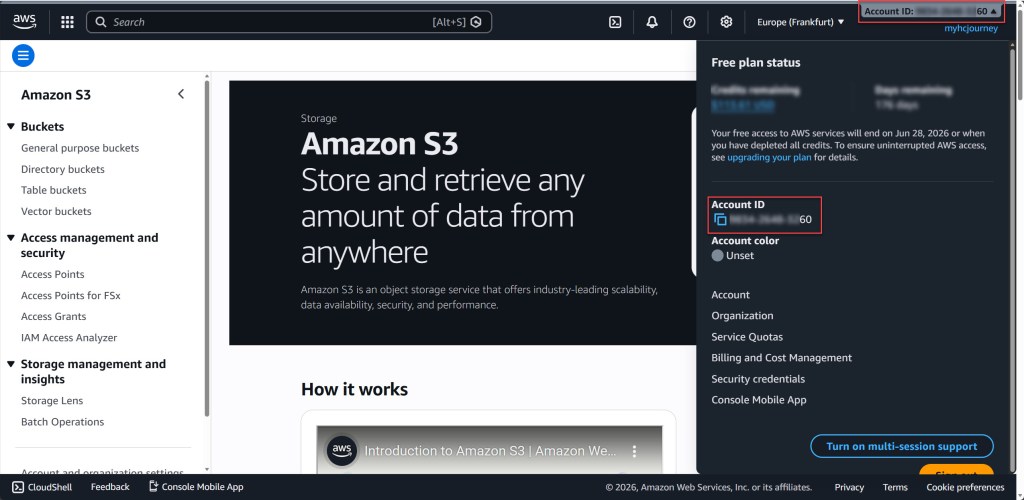
- You are required to provide your 12-digit AWS account ID, so make sure you know what it is.
Create an AWS multicloud connector to move data
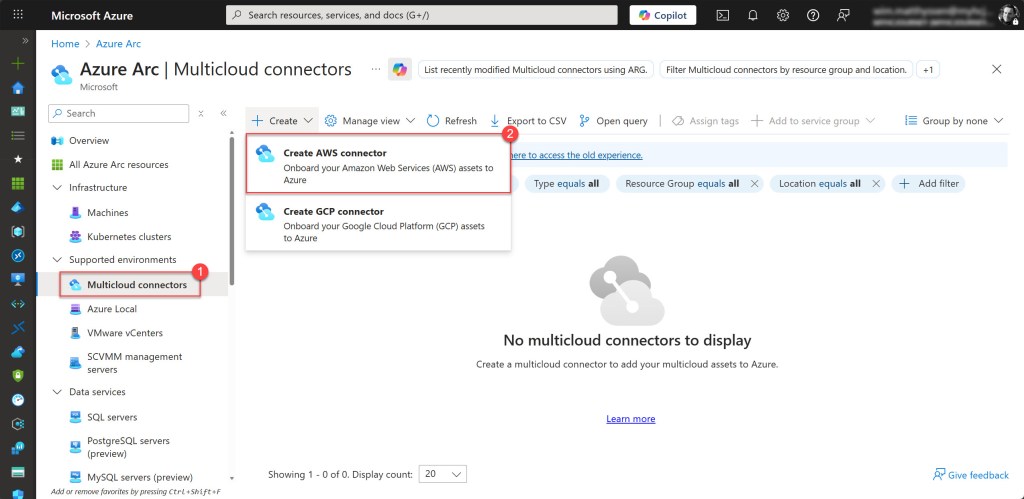
o get started, open the Azure Arc blade and navigate to Multicloud connectors under Supported environments. Then click Create and select Create AWS connector.
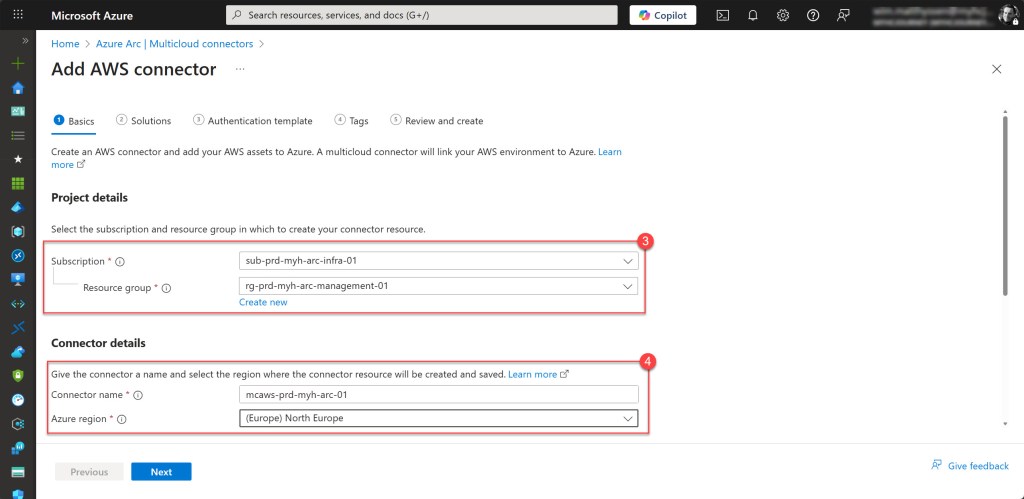
On the opened blade, fill in the Project details by selecting the correct subscription and resource group. Then complete the Connector details by providing a connector name that follows your Azure naming convention and selecting the appropriate Azure region*.
*💡Because the multicloud connector requires access to an Azure Storage Mover resource, only the following regions are supported for this scenario: eastus2euap, westcentralus, eastus, eastus2, northeurope, westus3, swedencentral.
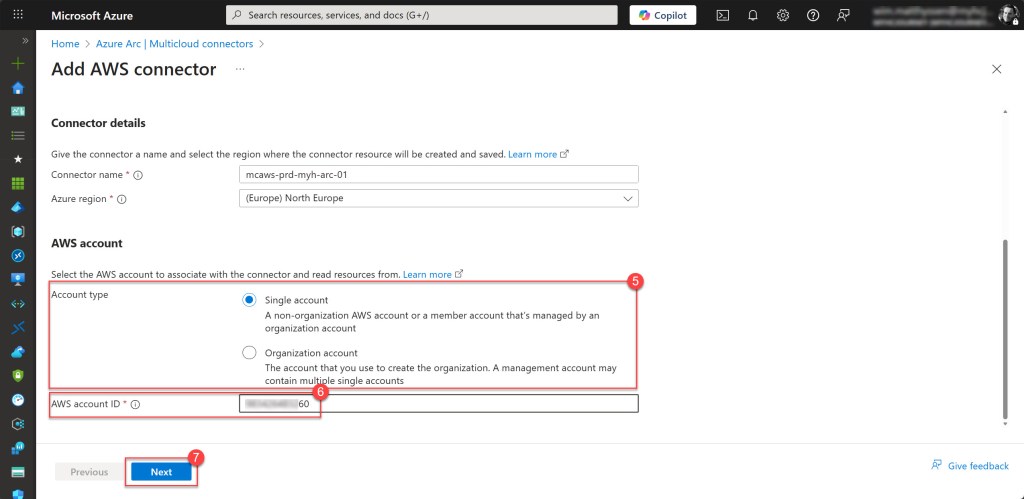
Scroll down to the AWS account details section. Select the account type (for example, Single Account) and enter your 12-digit AWS account ID. Make sure you know your account ID before continuing. Click Next when finished.
On the Add AWS connector blade, in the Inventory section, click + Add. Configure the inventory settings by selecting the AWS services to inventory, defining the periodic sync frequency (how often the scan should run), and specifying the AWS regions to include. Click Save when done.

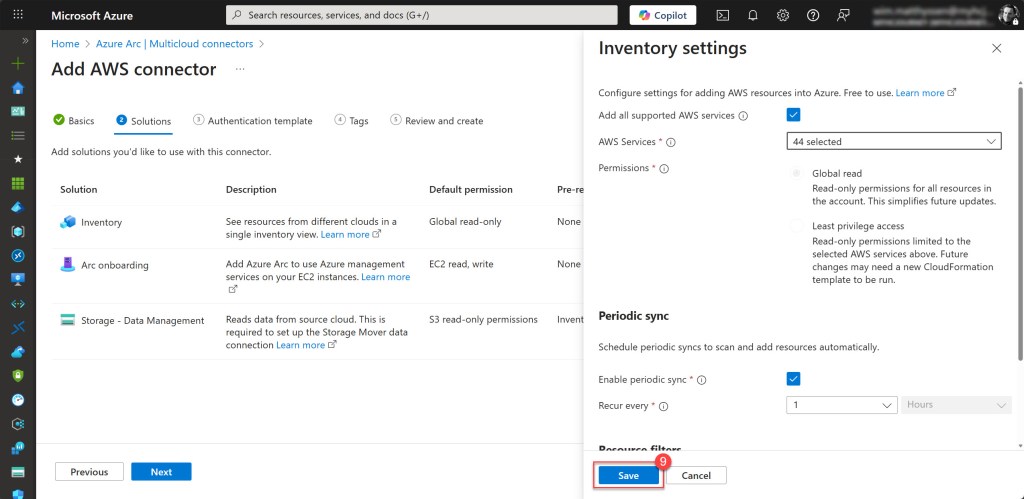
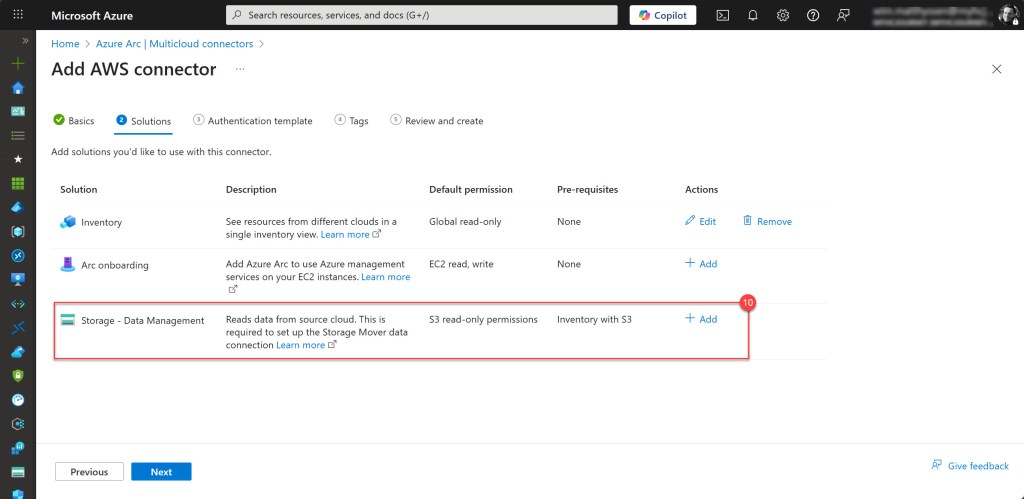
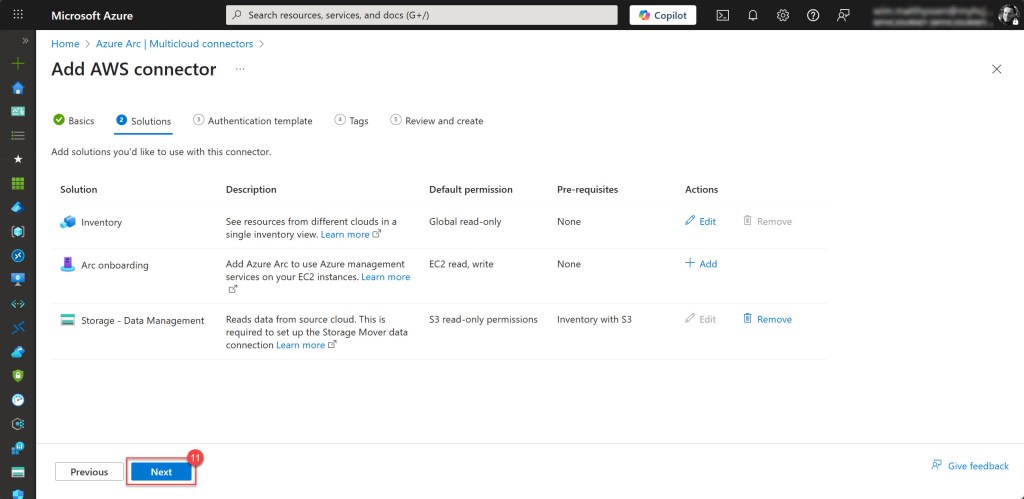
Then select Storage – Data Management and click + Add. For this solution, you do not need to configure any additional parameters. Once it has been added, click Next to continue.
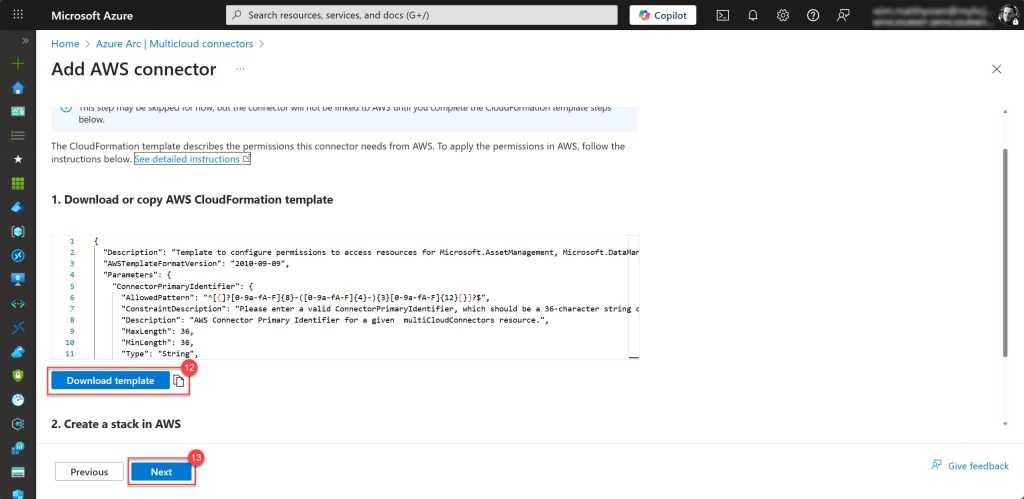
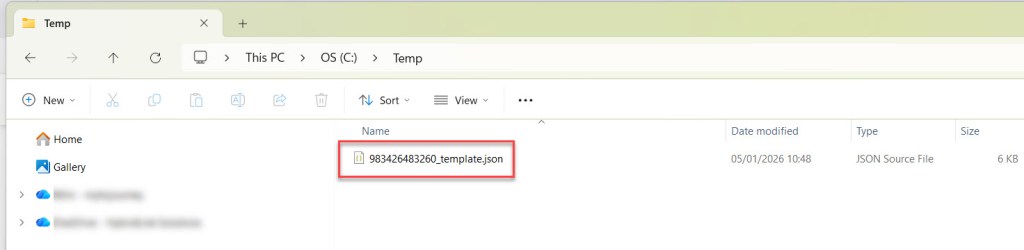
In the next blade, the template you just generated, which includes all the settings configured earlier, can be downloaded and later uploaded to AWS CloudFormation as a stack to automatically create the required resources. Click Download template to save it in a central or easily accessible location for later use. When ready, click Next to continue.
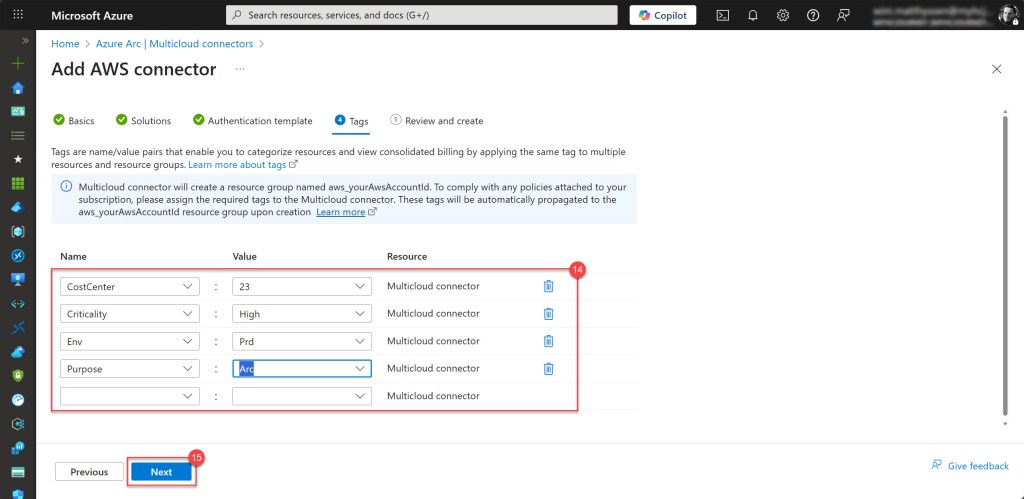
On the Tags blade, fill in all the required tags, and then click Next.
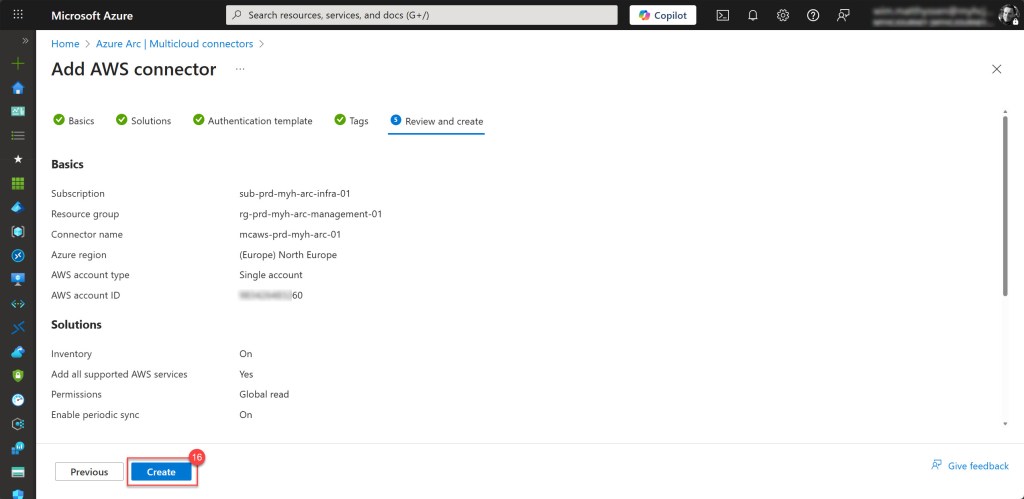
Then review all the parameters to ensure they are correct, and if so, click Create to start the creation process.
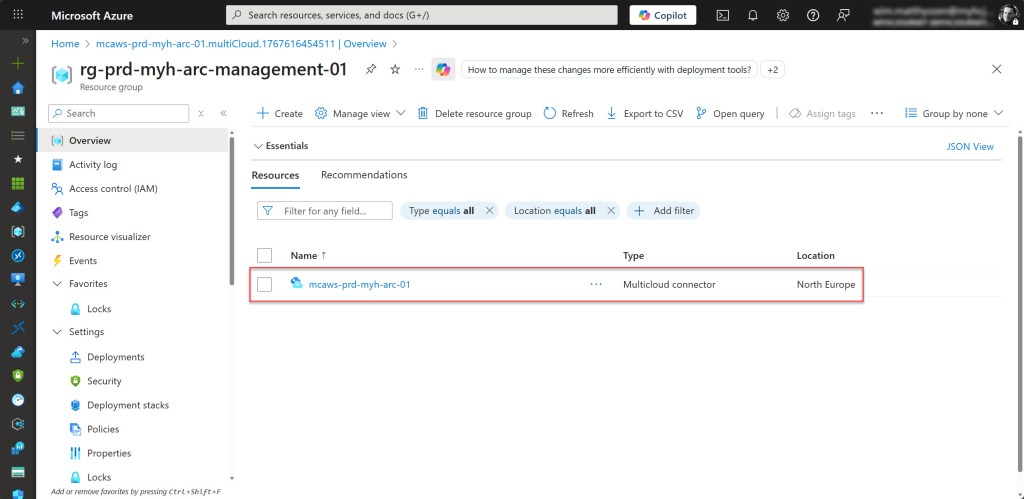
If all goes well, your AWS connector has now been created.
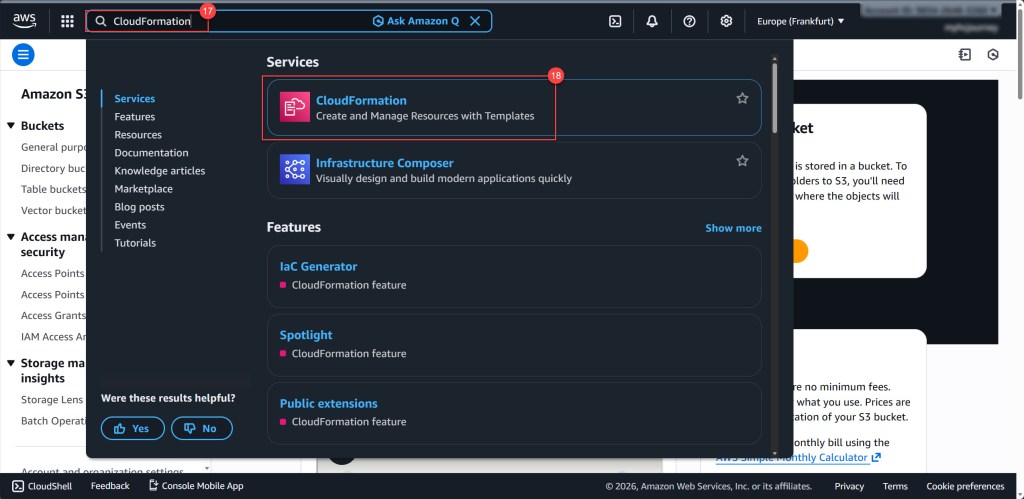
The final step is to upload your template to AWS. Start by signing in to the AWS Management Console, then type “CloudFormation” into the search bar at the top and select it from the results.
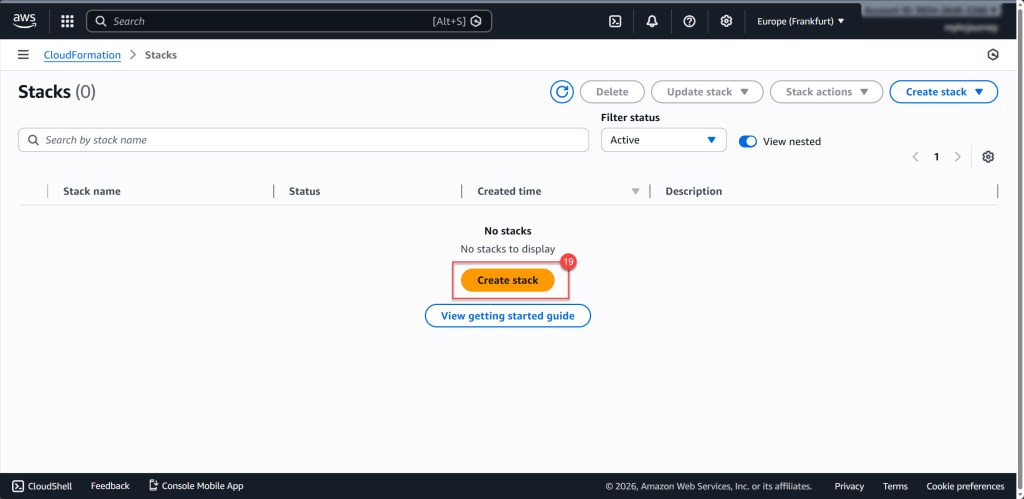
Once the CloudFormation page opens, click Create stack to get started. If prompted, select With new resources (standard) to set up a new connection.
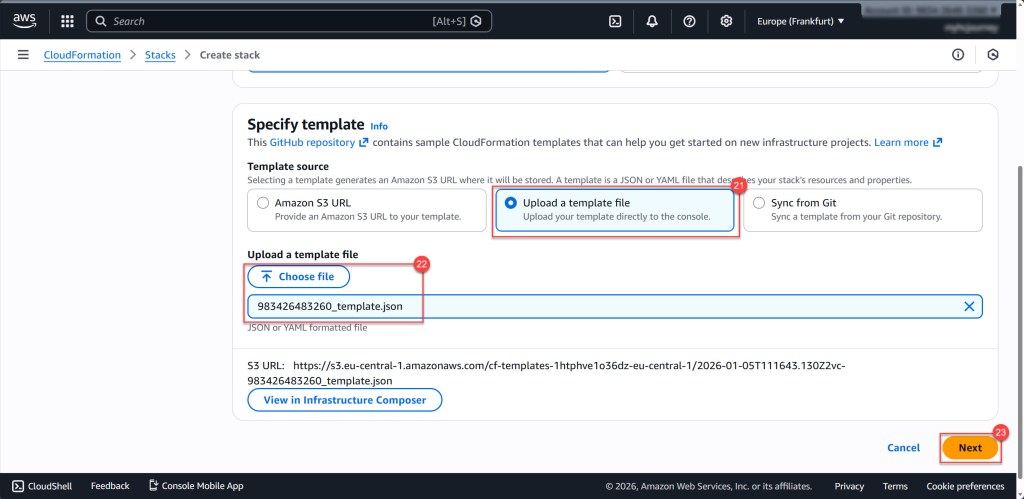
Next, select Upload a template file and click Choose file to upload the template you downloaded. Once that’s done, click Next to continue.
Give your stack a descriptive name that follows your AWS naming conventions, then scroll down and click Next. On this screen, you’ll also see that the ConnectorPrimaryIdentifier parameter is automatically filled in for you.

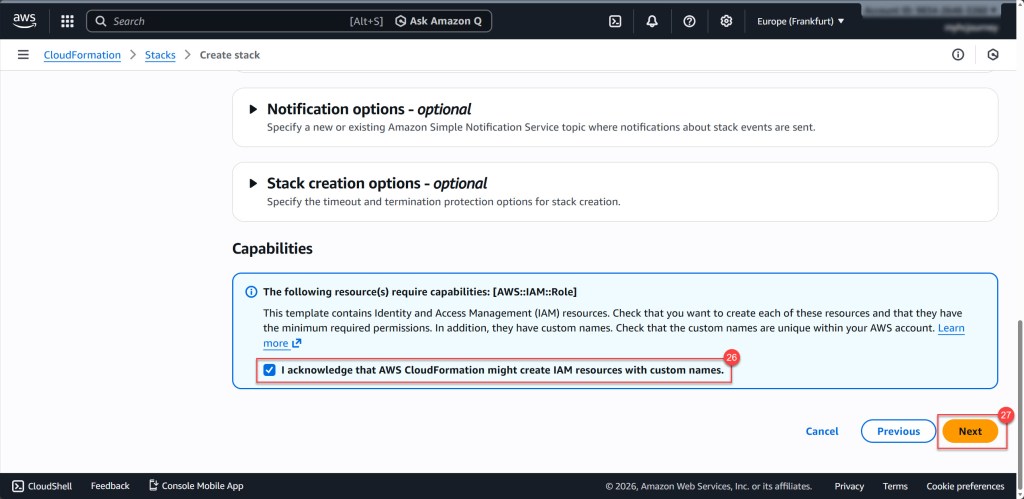
On the next screen, you can configure options like Tags, Permissions, and other settings. For now, leave everything at its default values, check the box acknowledging that AWS CloudFormation might create IAM resources with custom names, and then click Next to continue.
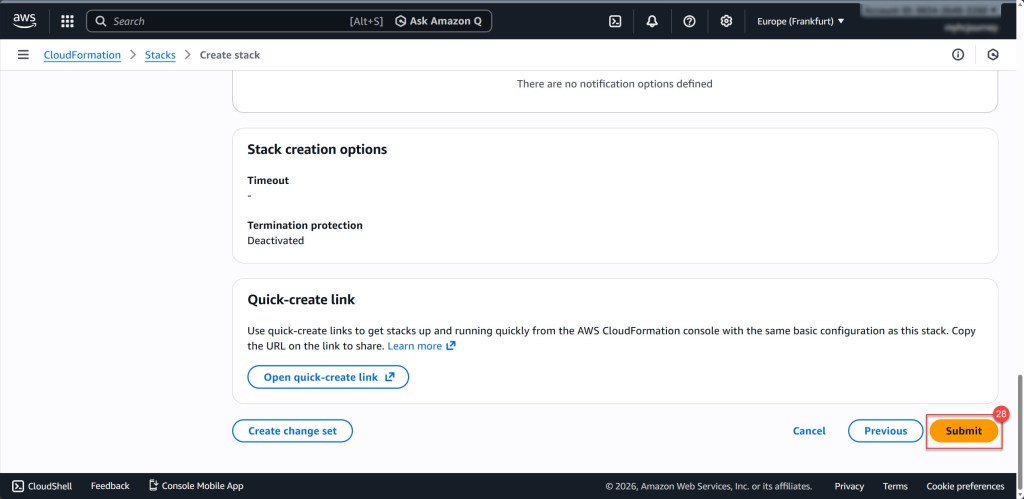
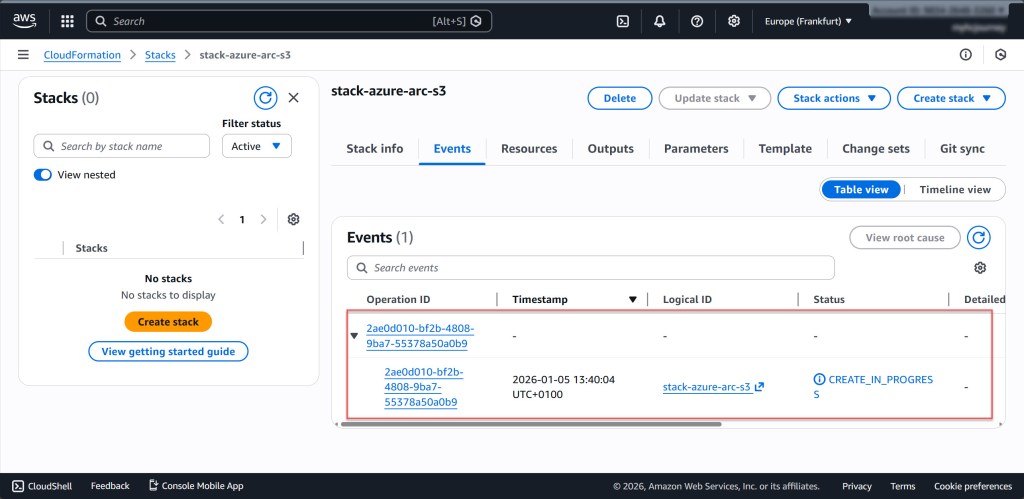
On the following screen, scroll down and click Submit. After submitting, the stack creation process can take up to 10 minutes to complete.
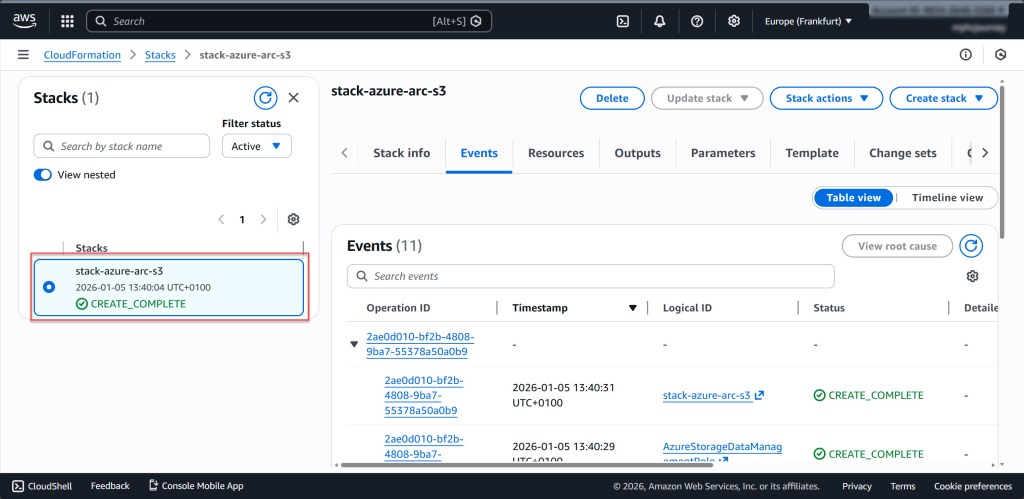
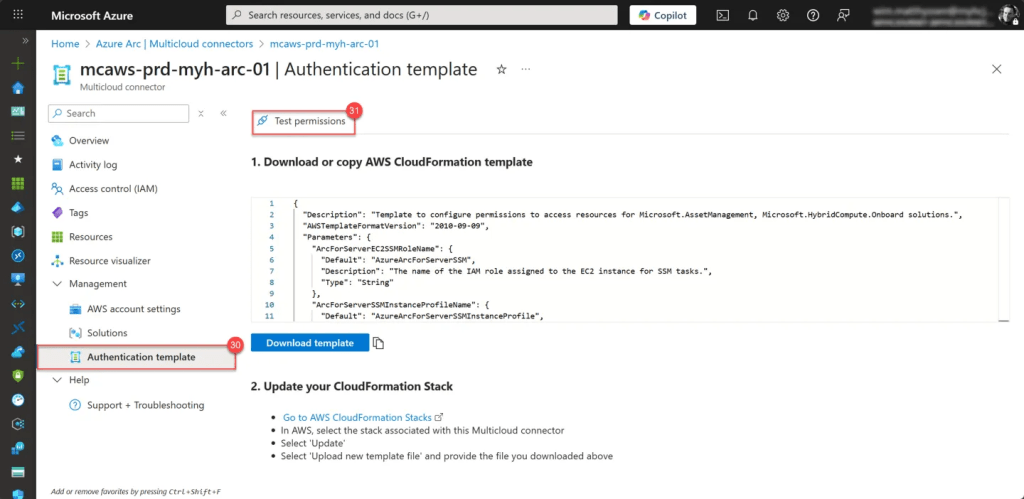
Once the stack is successfully created, go back to the Arc blade in the Azure portal and select the newly created Multicloud connector. On the opened blade, under Management, choose Authentication template and click “Test permissions” to verify that the connection you just created is working correctly.
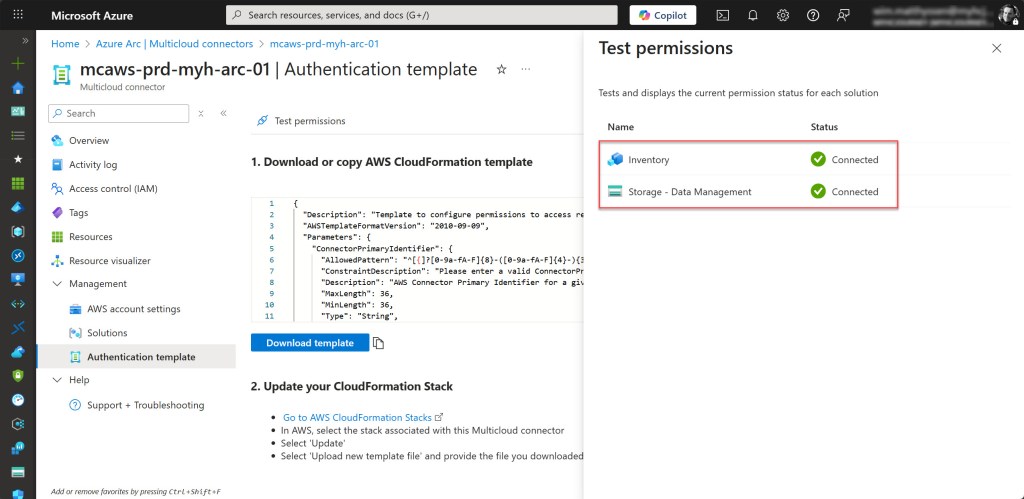
If everything is set up correctly, the test will show that both the Inventory and Storage – Data Management statuses have a Connection status of Connected. If not, it indicates an issue, and you’ll need to review your configuration to ensure everything is properly set up.
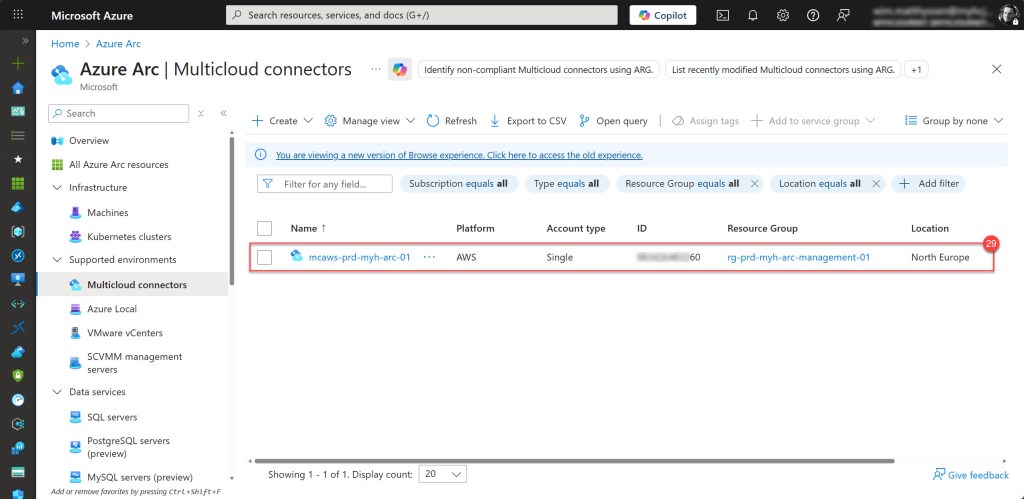
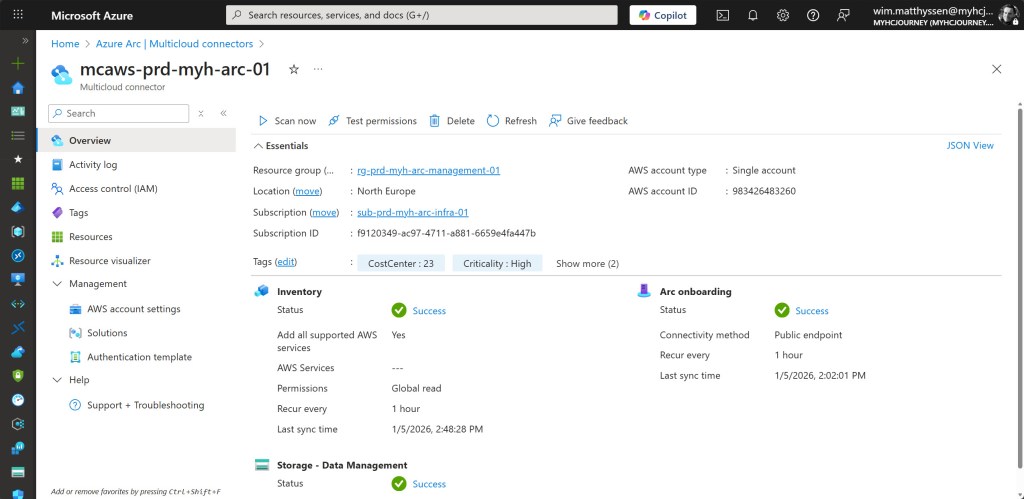
You should also see the success status reflected on the Overview page.
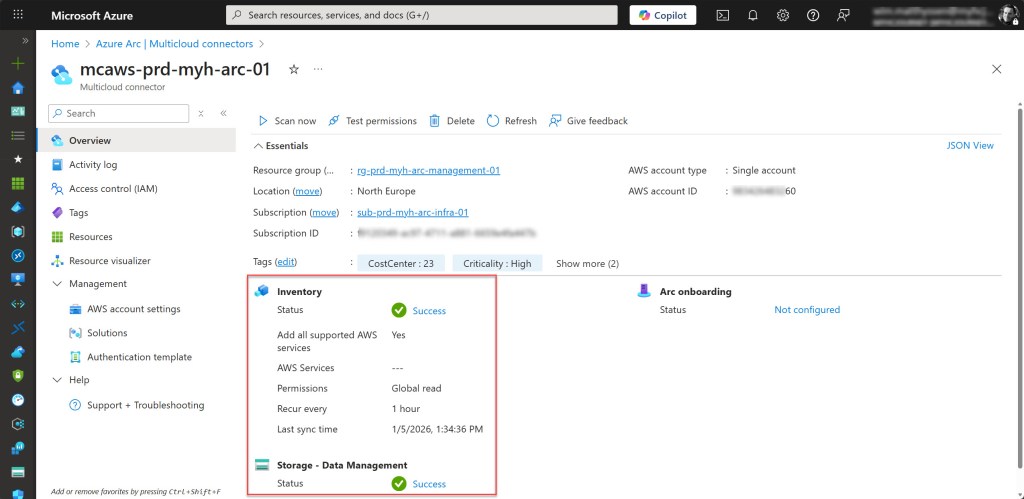
Your AWS Multicloud connector is now successfully configured and ready to use.
Add the Storage – Data Management solution to an existing AWS multicloud connector
If you already have an AWS Multicloud connector configured without the Storage – Data Management solution, you can easily add it to your existing setup.
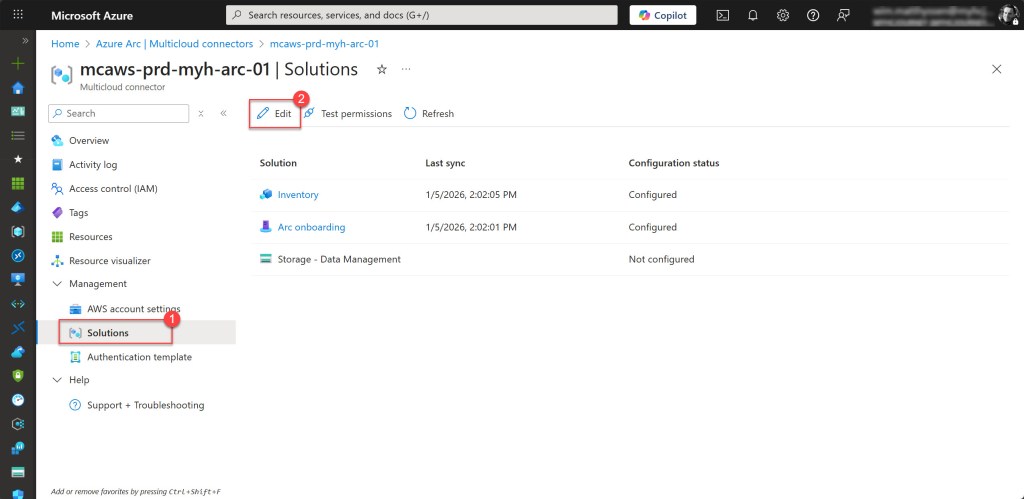
To do this, go to your Multicloud connector and select Solutions. On the Solutions blade, click Edit.
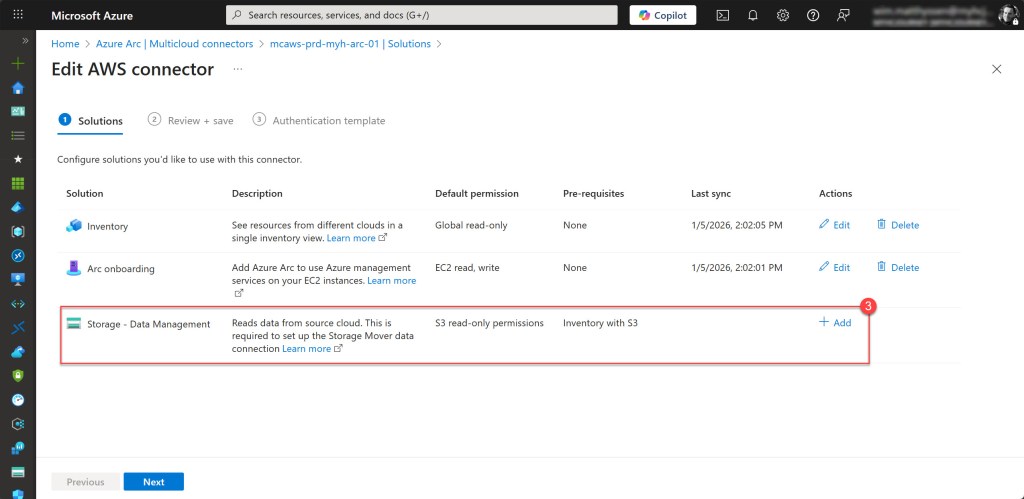
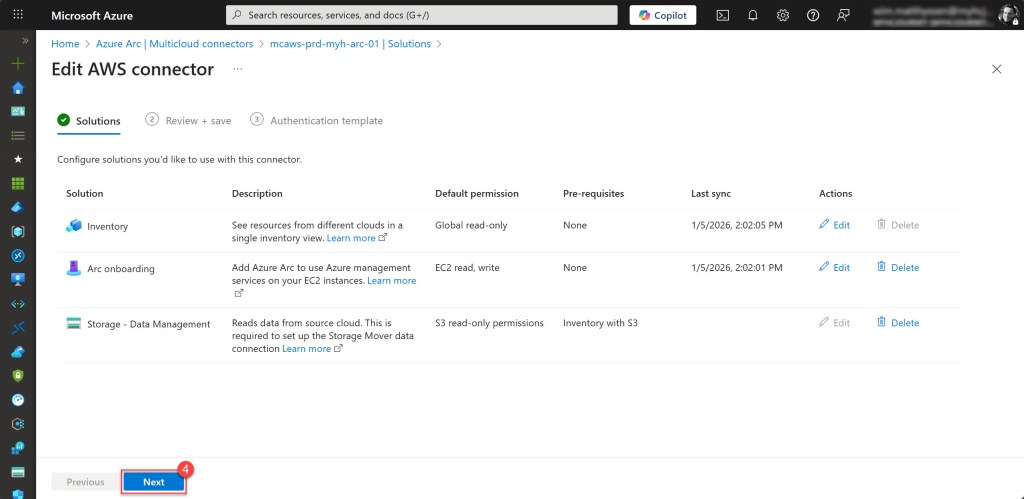
Next, click the + Add button on the Storage – Data Management solution line, then click Next to continue.
Review the different parameters, and if everything looks correct, click Next to apply the updated settings.


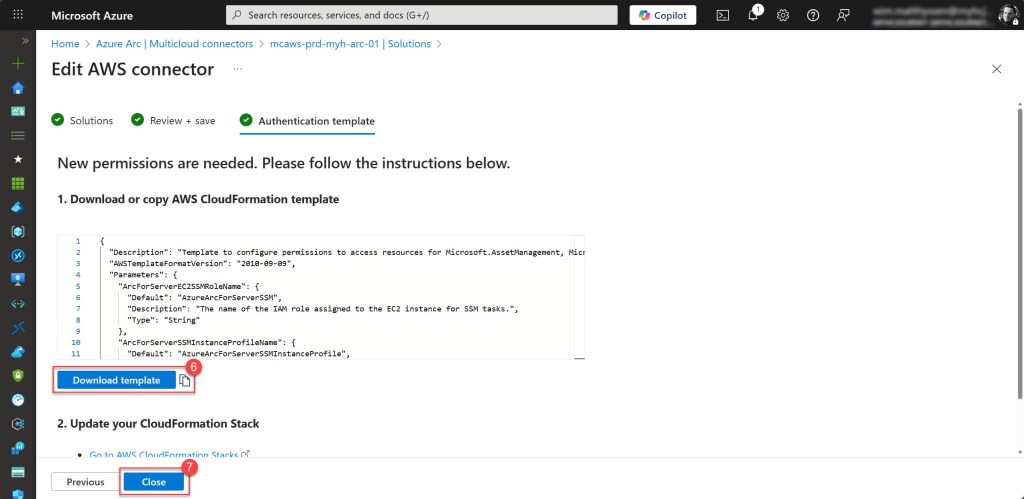
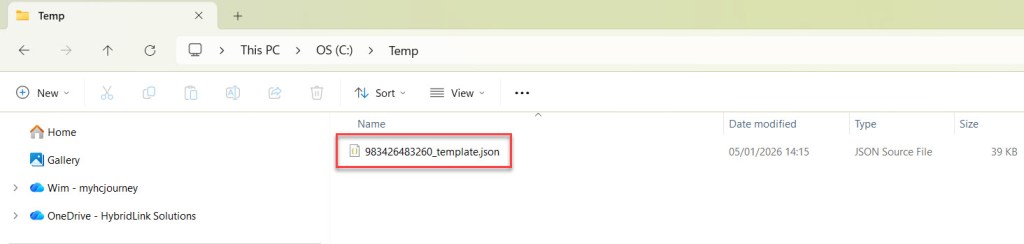
On the next blade, download the template and save it to an easily accessible location. Once done, click Close.
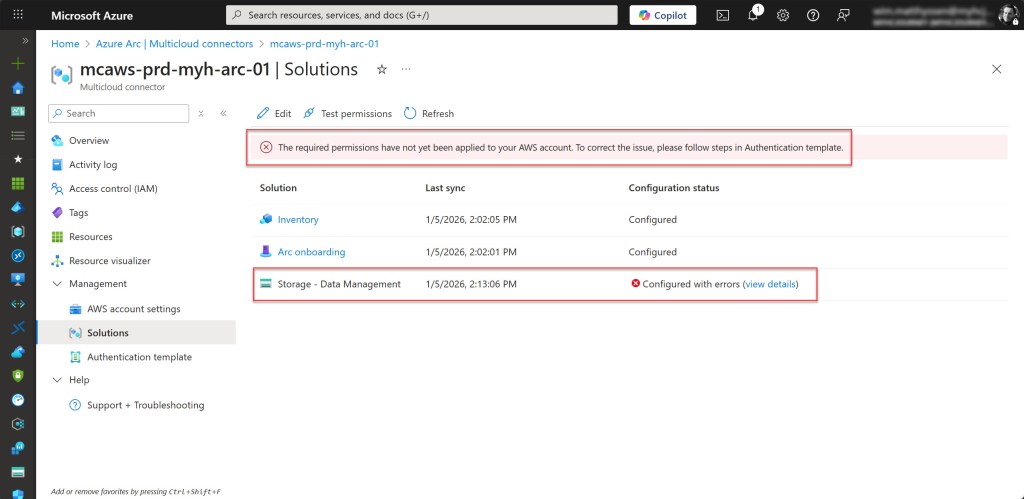
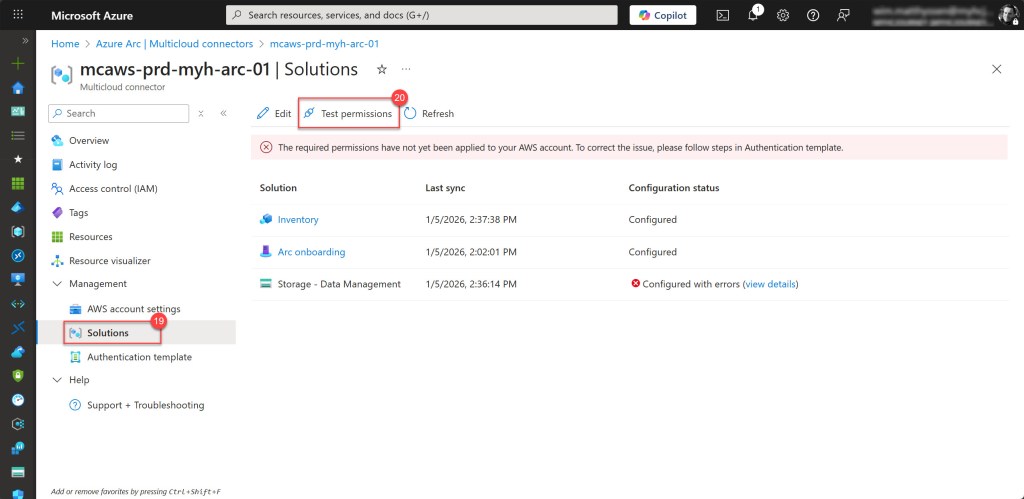
On the Solutions blade, you’ll now see that the Storage – Data Management solution shows errors. This is expected because you still need to upload the adjusted template to your existing CloudFormation stack and update it.
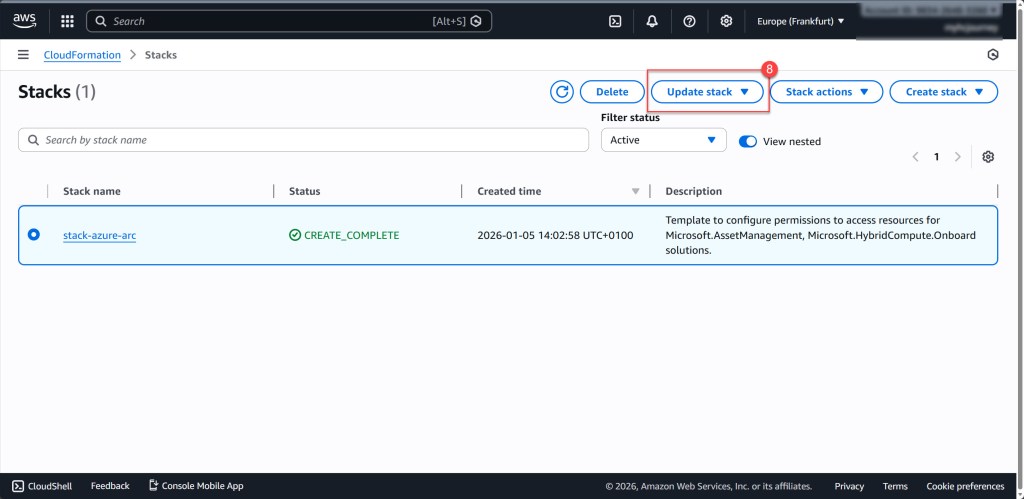
To update it, go to the AWS CloudFormation stack associated with your Multicloud connector and click Update stack.
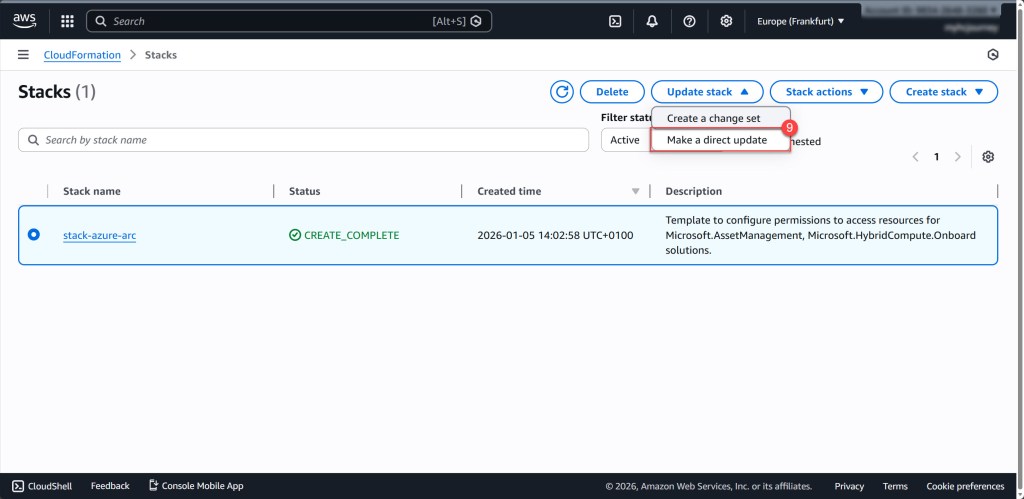
Next, select Make a direct update.
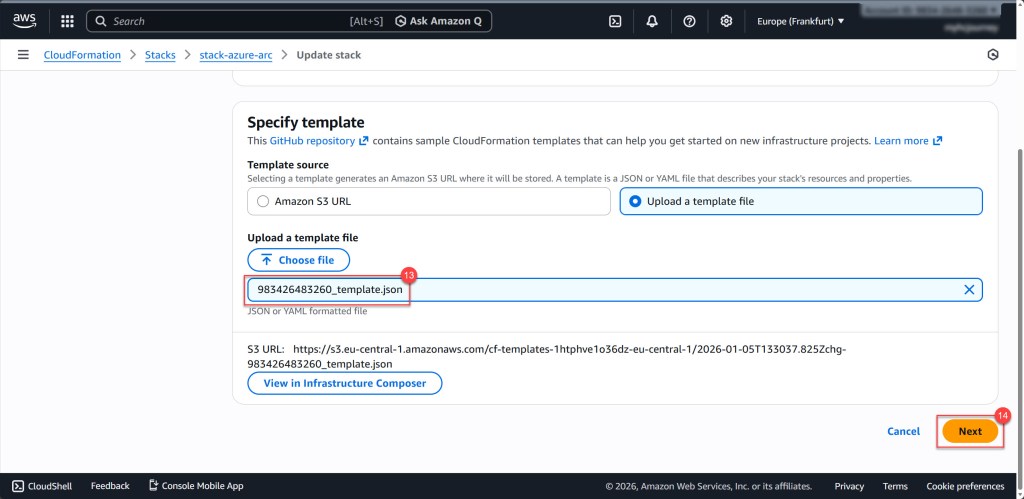
On the Update stack page, select Replace existing template, then choose Upload a template file and click Choose file.
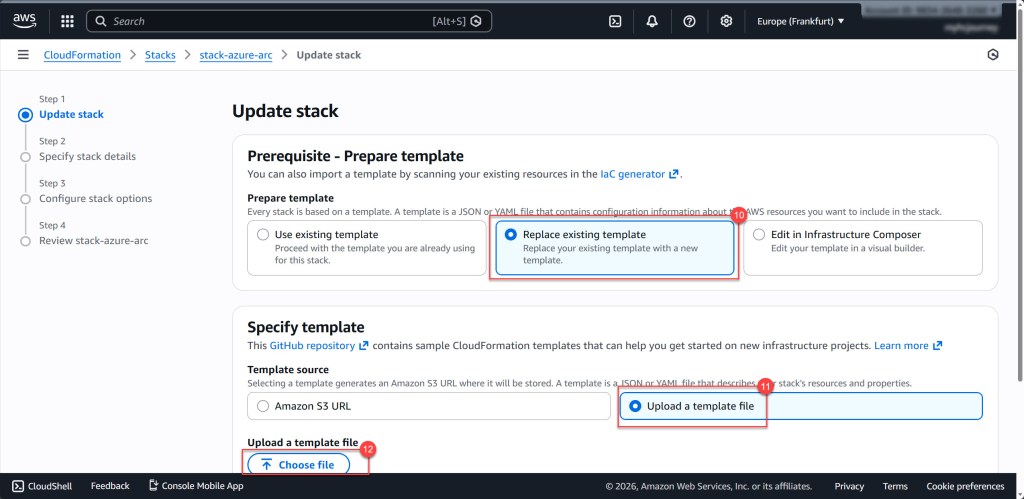
Next, select the new template you just saved, and click Next to continue.
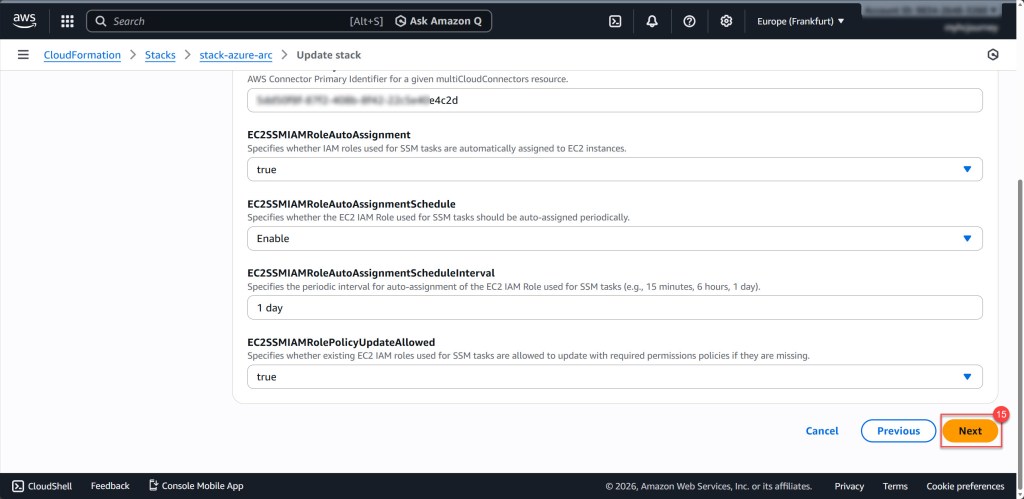
On the next screen, leave all fields as they are, and click Next.
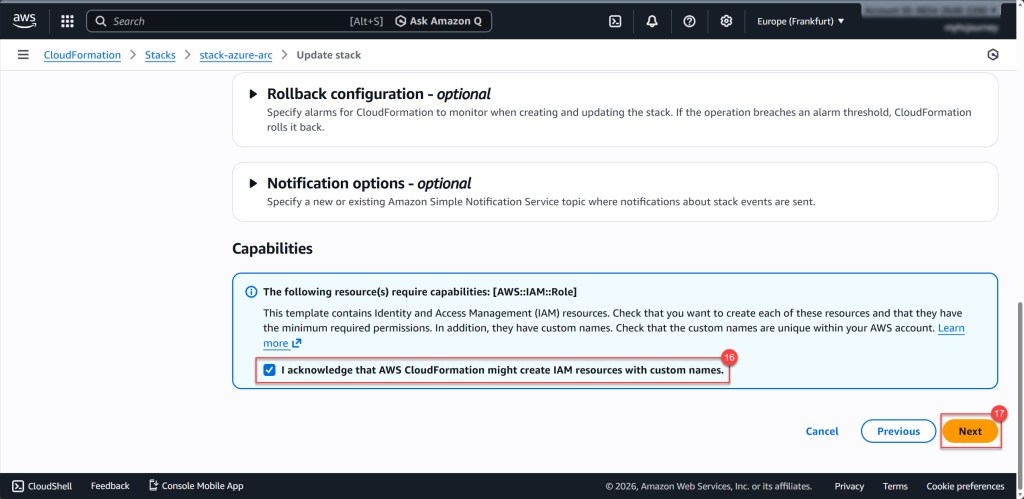
On the next screen, you can configure options like Tags, Permissions, and other settings. For now, leave everything at its default values, check the box acknowledging that AWS CloudFormation might create IAM resources with custom names, and then click Next to continue.
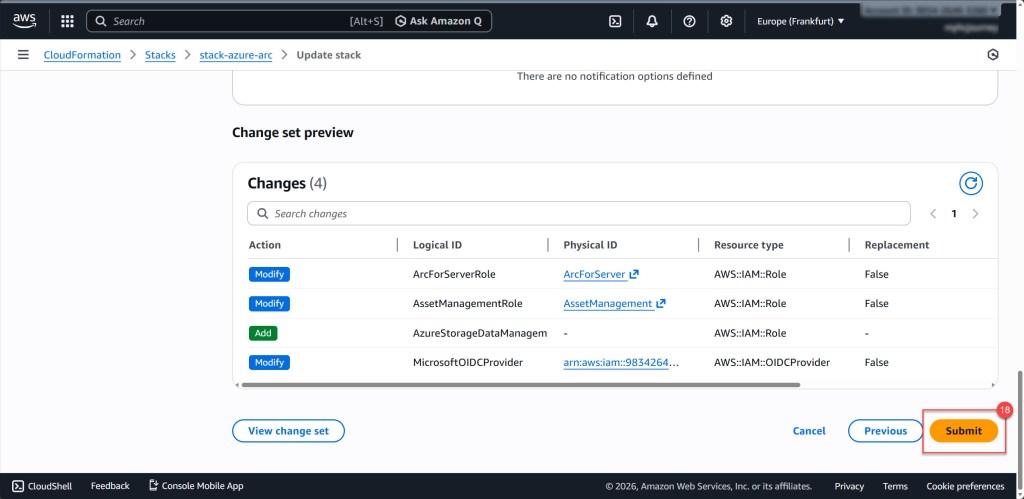
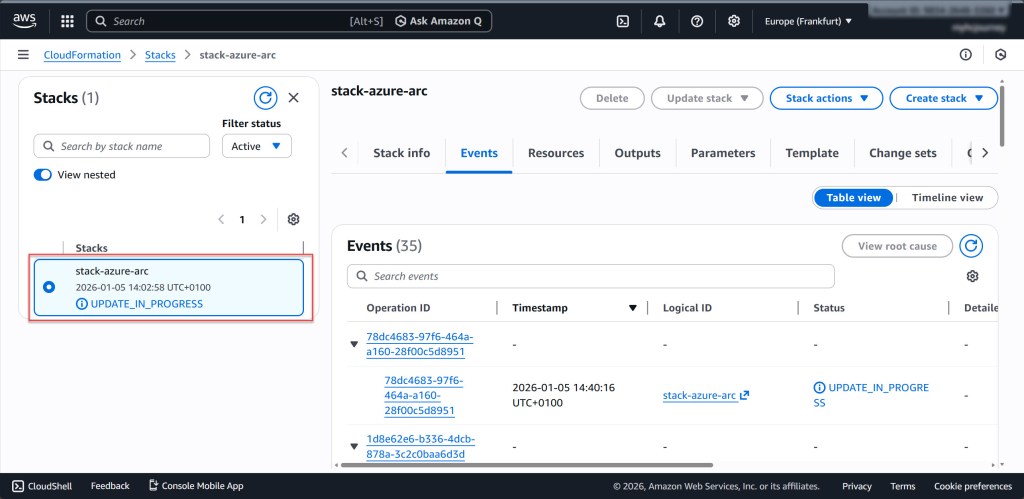
On the following screen, scroll down and click Submit. Once submitted, the stack update process will begin.
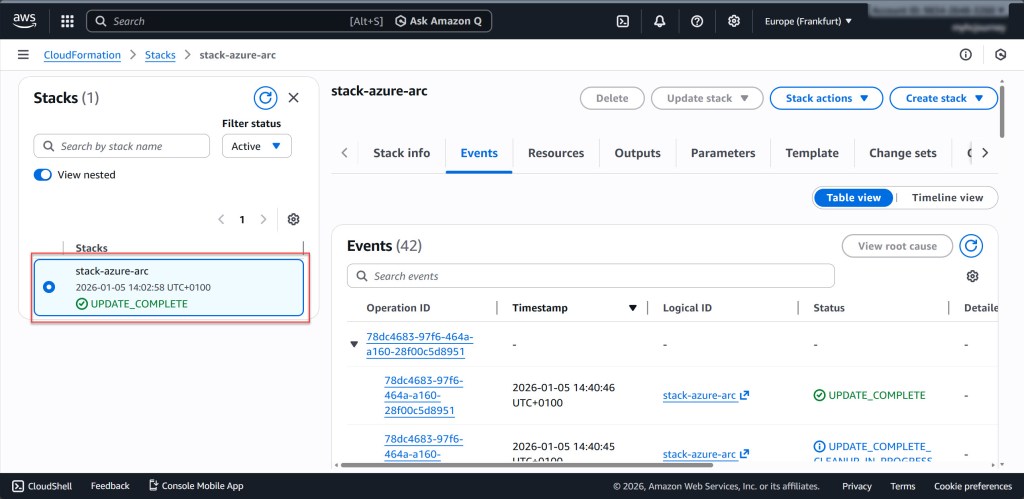
Once the update is complete, return to the Arc blade in the Azure portal and select your AWS Multicloud connector. On the opened blade, under Management, choose Solutions and click Test permissions to verify that the updated connection is working correctly.
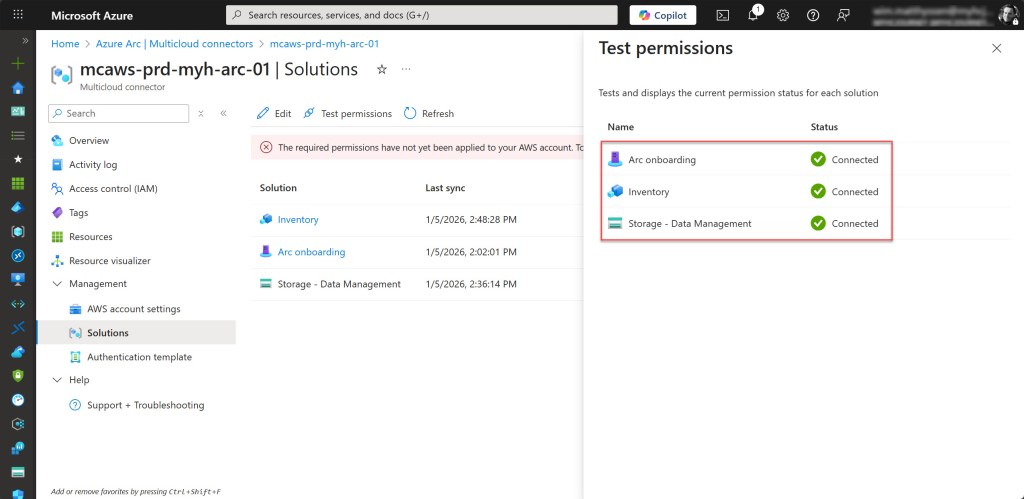
If everything is set up correctly, the test will show that all Solutions have a Connection status of Connected. If not, this indicates an issue, and you’ll need to review your configuration to make sure everything is set up properly.
This will also be reflected on the Overview page.
You have now successfully updated your existing AWS Multicloud connector with the Storage – Data Management solution.
Conclusion
In this blog post, I’ve walked through how to create or update an Azure Arc AWS multicloud connector to enable S3 bucket to Azure Storage accouht migration scenarios.
I hope you find these steps helpful whenever you need to create a new AWS Multicloud connector or update an existing one in your environment. If you have any questions or suggestions, feel free to reach out on X (@wmatthyssen) or leave a comment below.

Pingback: Azure Arc: How to migrate data from Amazon S3 buckets to Azure Blob Storage with Azure Storage Mover – Wim Matthyssen