
In this blog post, you’ll learn the steps to confirm or validate a successful enrollment for Extended Security Updates (ESU) using Azure Arc.
Support for Windows Server 2012 and Windows Server 2012 R2 ended on October 10, 2023. However, you can still secure these types of machines by enabling them as Azure Arc-enabled servers, allowing enrollment in ESU.
Setting up ESUs* and linking them via Azure Arc to your W2K12 or W2K12 R2 machines is a straightforward process. First, you onboard your machine(s) into Azure Arc.
Then, you create an ESU license, choosing the correct SKU, core type, and total cores, which you can then link to one of those W2K12 or W2K12 specific Azure Arc-enabled servers.
This can be done through the Azure Portal or various automation methods like Azure PowerShell**, Azure CLI, or the REST API.
*You can find instructions on setting up and linking ESUs for your Windows Server 2012 or 2012 R2 machines with Azure Arc in this earlier blog post I’ve written.
**If you prefer using an Azure PowerShell script to provision an Extended Security License (ESU) through the Azure Arc WS2012 ESU ARM APIs, you can find it here.
While you can easily verify whether a particular onboarded server has been successfully assigned an ESU license through the Azure Portal by simply typing in the server name in the global search bar, selecting the server, and checking the Overview page under the Capabilities tab, if ESUs are “Enabled,”
There are alternative methods to validate this directly on the server itself. In this blog post, I’ll demonstrate these alternative validation techniques.
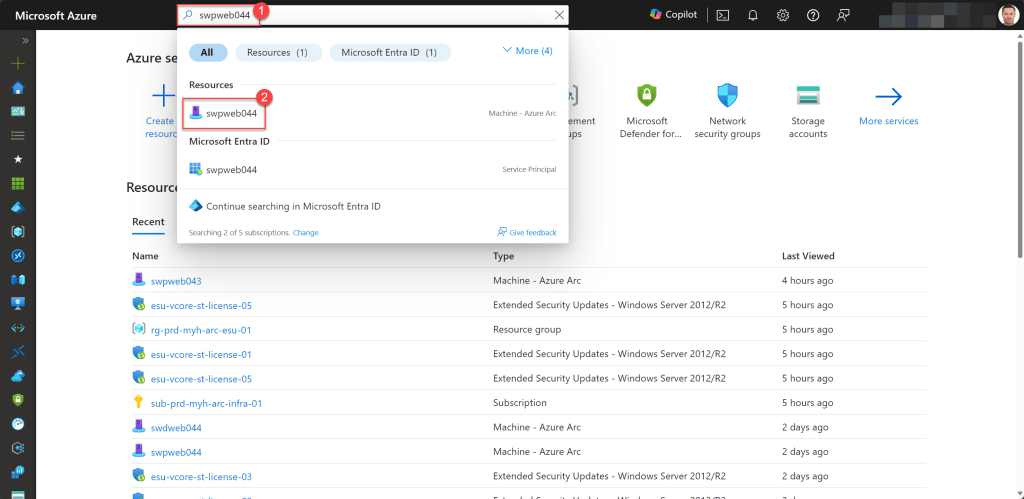

Table of Contents
- Verify ESU Status Using Windows PowerShell directly on the server
- Verify ESU Status Using Windows PowerShell remoting
- Verify ESU Status using the Registry Editor directly on the server
- Verify ESU Status using the remote registry
- Conclusion
Verify ESU Status Using Windows PowerShell directly on the server
To check the ESU status directly on the server using Windows PowerShell, simply log in to the server with an administrator account, open a Windows PowerShell window, and enter the following command:
azcmagent show

If the appropriate ESU license is assigned and “Active,” you’re good to go.
Verify ESU Status Using Windows PowerShell remoting
Rather than directly accessing a Windows Server through RDP, it’s advisable to utilize a management server for administrative tasks.
Moreover, you can verify the ESU status of a specific server through Windows PowerShell remoting. Simply log in to your management server with an administrator account, then open a Windows PowerShell window and run the following command to start an interactive session:
Enter-PSSession <servername>
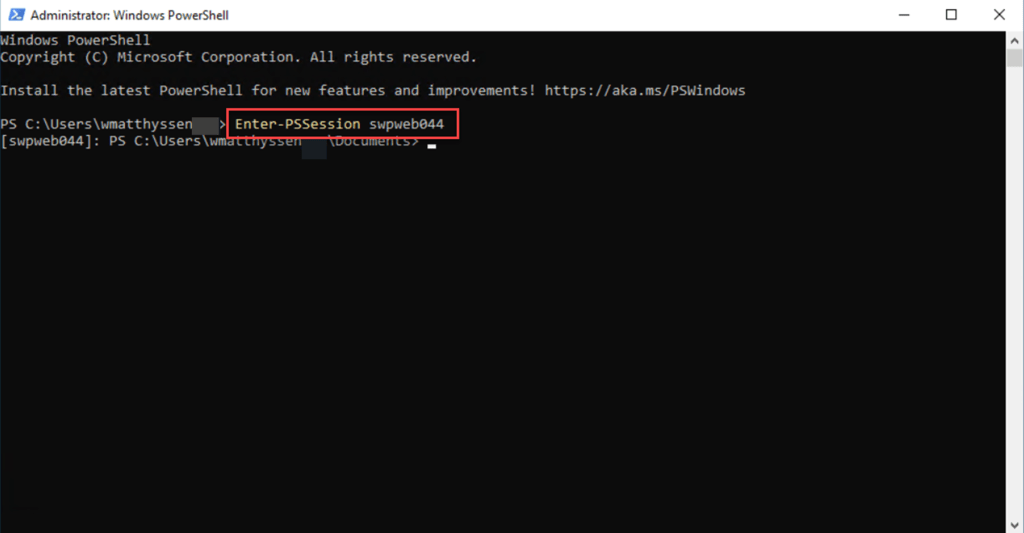
Once the interactive session is initiated, you can execute the following command, as shown previously, to validate the ESU status:
azcmagent show

To exit the interactive session, simply execute the following command:
Exit-PSSession

Verify ESU Status using the Registry Editor directly on the server
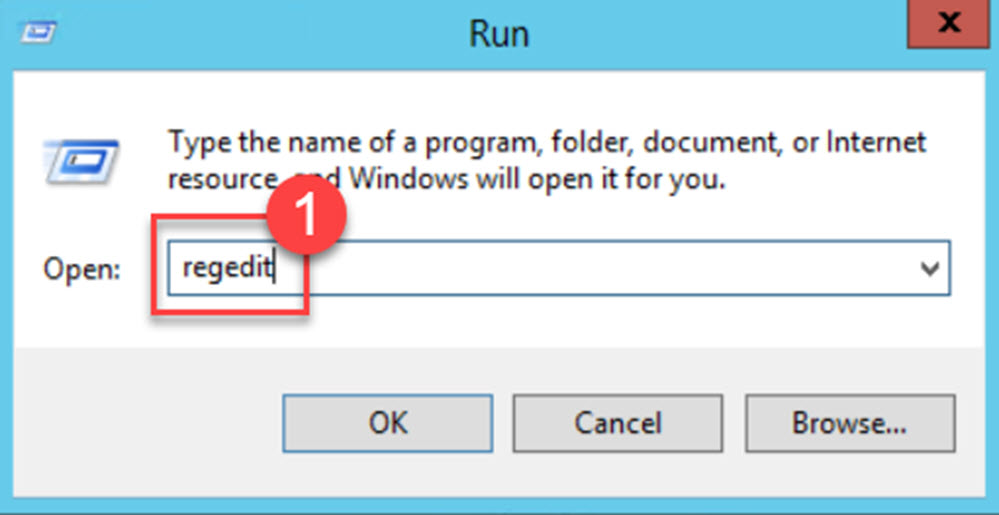
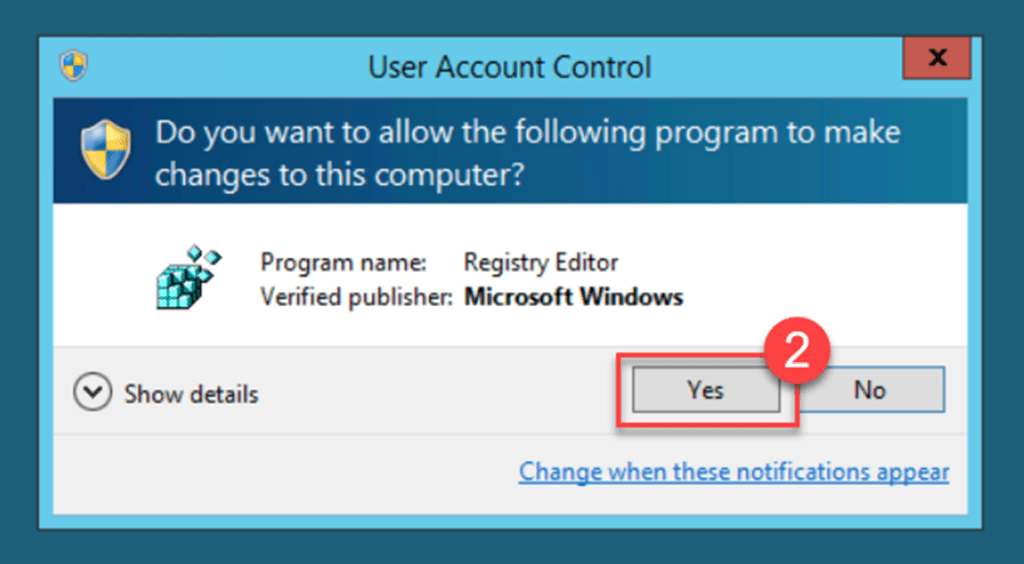
Once again, sign in to the server using an administrator account, and access the Registry Editor by entering “regedit” into the Run dialog box. Press “Enter” or click “OK,” and then confirm by selecting “Yes” on the User Account Control window.
Once the Registry Editor is open, locate the following registry key:
[HKEY_LOCAL_MACHINE\SOFTWARE\Microsoft\Azure Connected Machine Agent\ArcESU]
This registry key should be configured with a value of “1“, indicating that the server is ready to receive the latest ESU patches.

Verify ESU Status using the remote registry
As mentioned previously, for both security and administrative reasons, it’s advisable to avoid using the registry editor directly on the server. Opting for a management server to handle these tasks is always the better approach.
To proceed, log in to your management server using an administrator account. Then, open the registry editor as before, by accessing Run and typing “regedit,” followed by pressing “Enter” or selecting “OK.” Confirm the User Account Control prompt by clicking “Yes.”
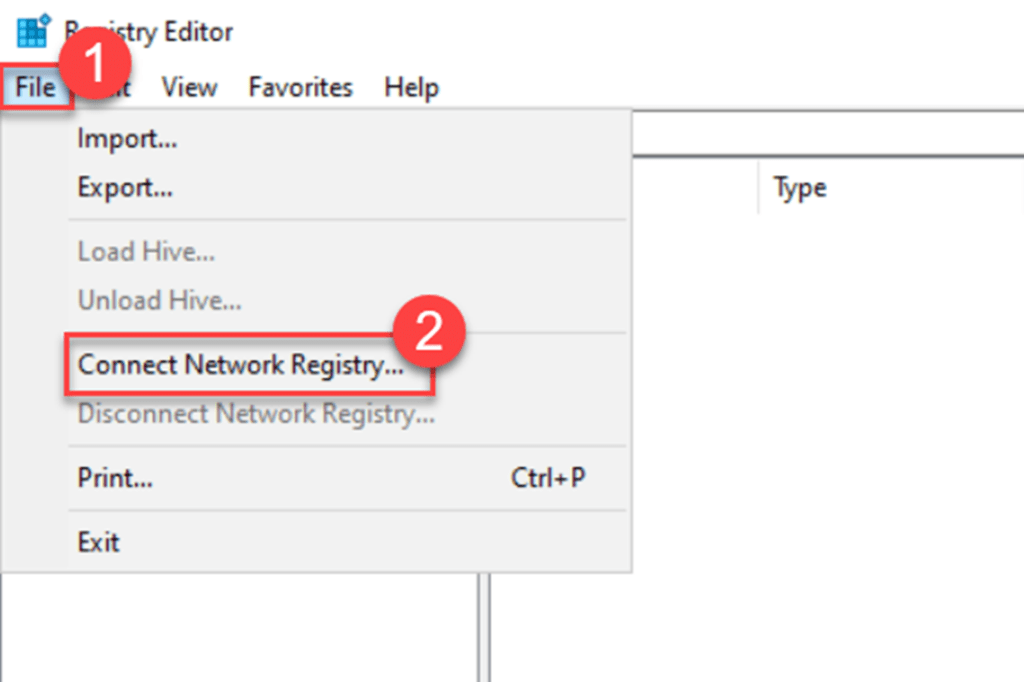
Once the registry editor is open, navigate to File and choose Connect Network Registry.
In the “Enter the object name to select” field, input the name of the server you want to remotely access the registry for, then click “Check Names“, followed by “OK“.

Once the remote registry is accessible***, locate the following registry key:
[HKEY_LOCAL_MACHINE\SOFTWARE\Microsoft\Azure Connected Machine Agent\ArcESU]
Once again, ensure that this registry key is set to “1“, indicating that the server is ready to receive the latest ESU patches.

***If you encounter an error while connecting to the remote registry, ensure that the Remote Registry service is enabled and “Running” on both servers. Additionally, if necessary, configure the required ports in the Windows Firewall.
Conclusion
Validating whether an Azure Arc-enabled Windows Server 2012 or 2012 R2 server has successfully enrolled to receive the latest ESU patches can be accomplished through various methods.
As demonstrated in this blog post, you can utilize the Azure Portal. However, from a management perspective, it’s more effective to perform and verify this directly or remotely on the server itself.
If you have any questions or suggestions regarding this blog post, please don’t hesitate to contact me via my X handle (@wmatthyssen) or leave a comment. I’ll be more than happy to assist you.

0 comments on “Azure Arc: Validate ESU enrollment”