In this blog post, you will discover how to set up a private cloud on your SCVMM management server, a necessary step before onboarding it as an Azure Arc-enabled SCVMM instance within Azure.
As some of you may already know, you can now improve the governance and management of your Hyper-V infrastructure using Azure Arc-enabled SCVMM, which is currently in public preview.
This feature enables you to seamlessly view, manage, and perform various actions on Hyper-V virtual machines (VMs) managed by SCVMM from Azure, all while also providing you the capability to browse SCVMM resources such as templates, VM networks, and storage.
Before you can start using these Azure Arc-enabled SCVMM features, you must first establish a connection between your VMM management server and Azure Arc. Before starting this onboarding process, it’s essential to meet certain prerequisites, one of which is configuring an SCVMM private cloud, a step-by-step guide to which can be found in this blog post.
Prerequisites
- A SCVMM management server running version 2016 or later.
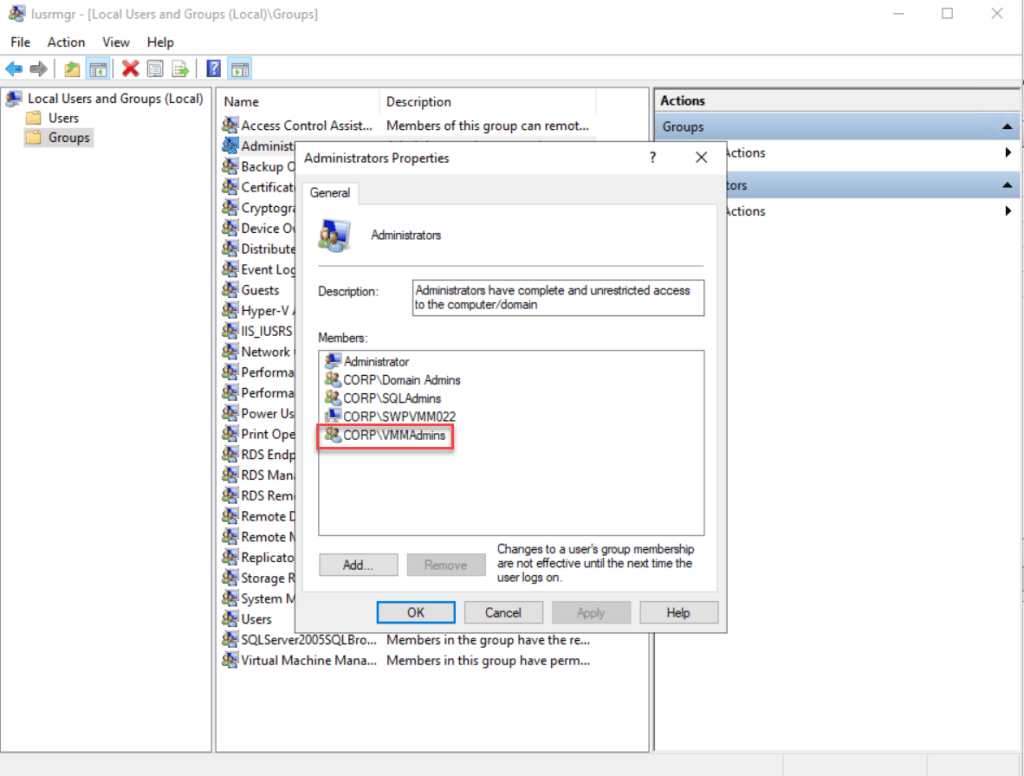
- The user used for configuring the private cloud should be either a VMM administrator or a member of the Delegated Administrators user group, with a scope that includes the host groups you’ll use for this private cloud.
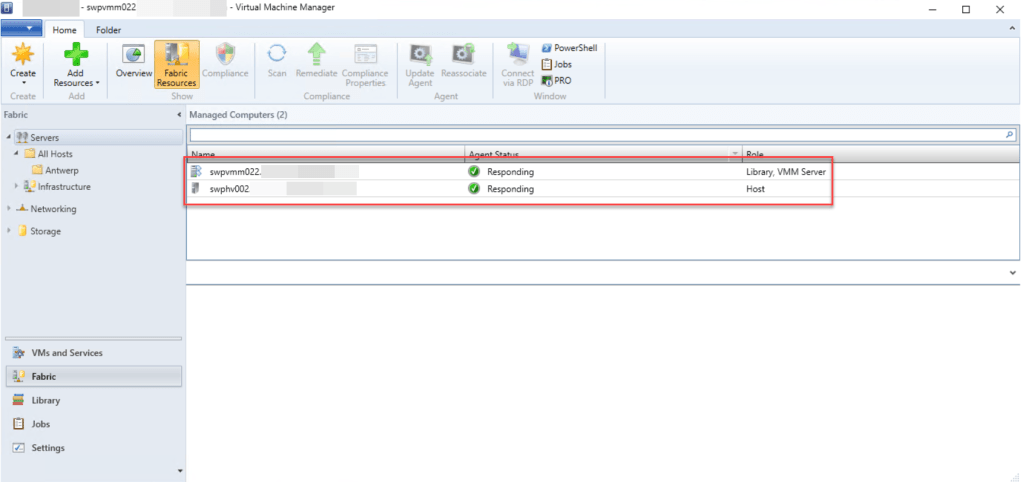
- Ensure that you have a VMM fabric set up, complete with one or more Hyper-V or VMware virtualization hosts within this fabric.
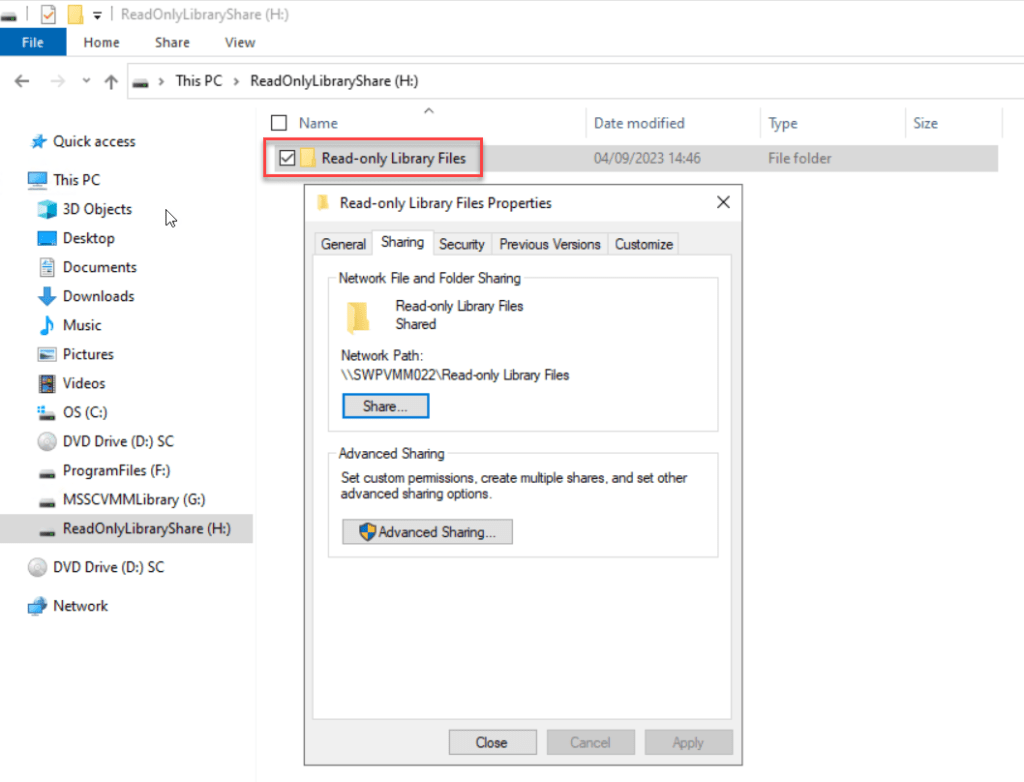
- To assign read-only shares in the private cloud for administrators to store resources like .iso files for self-service users, ensure you have one or more existing library shares available for this purpose.
Create a SCVMM private cloud
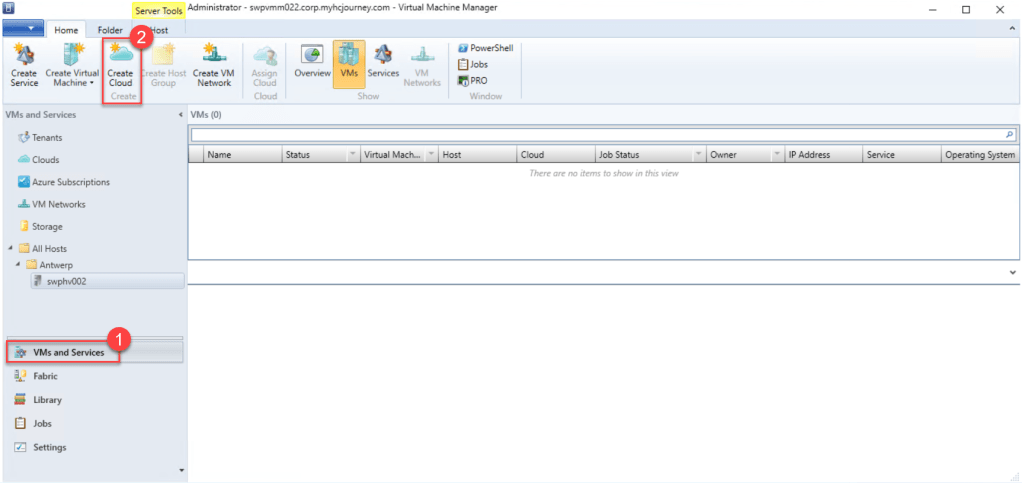
First, log in to your VMM management server and open the VMM console. Then, navigate to “VMs and Services” and click on “Create Cloud” in the top ribbon to launch the “Create Cloud Wizard“.
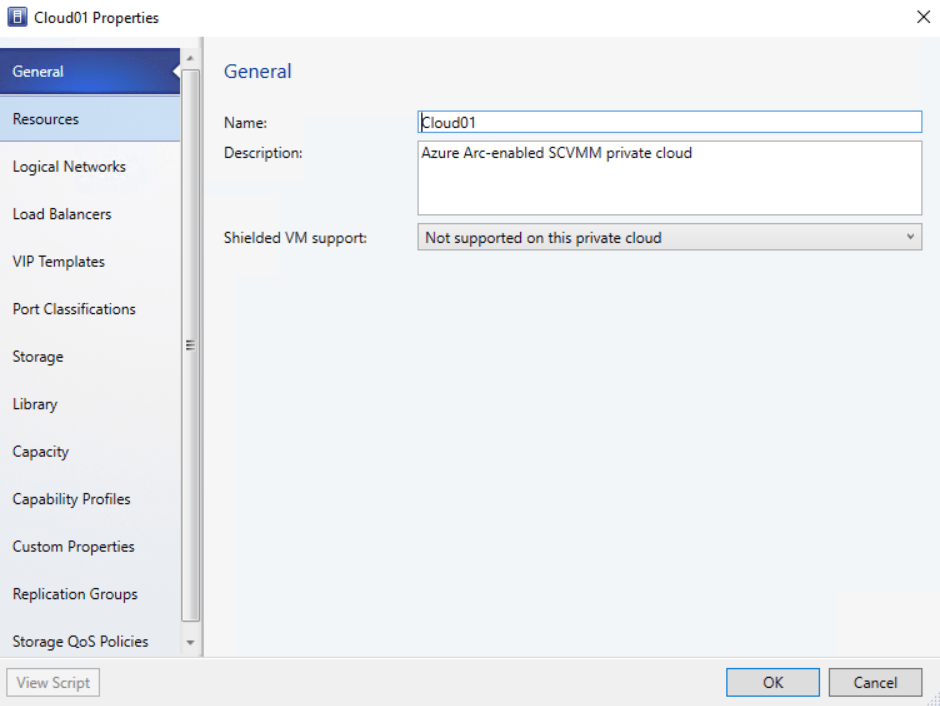
On the General page, specify a “Name” and an optional “Description” for the private cloud, then proceed by clicking “Next.”

On the Resources page, choose the Host groups you wish to include in the private cloud by checking the respective boxes, and then proceed by clicking “Next.”

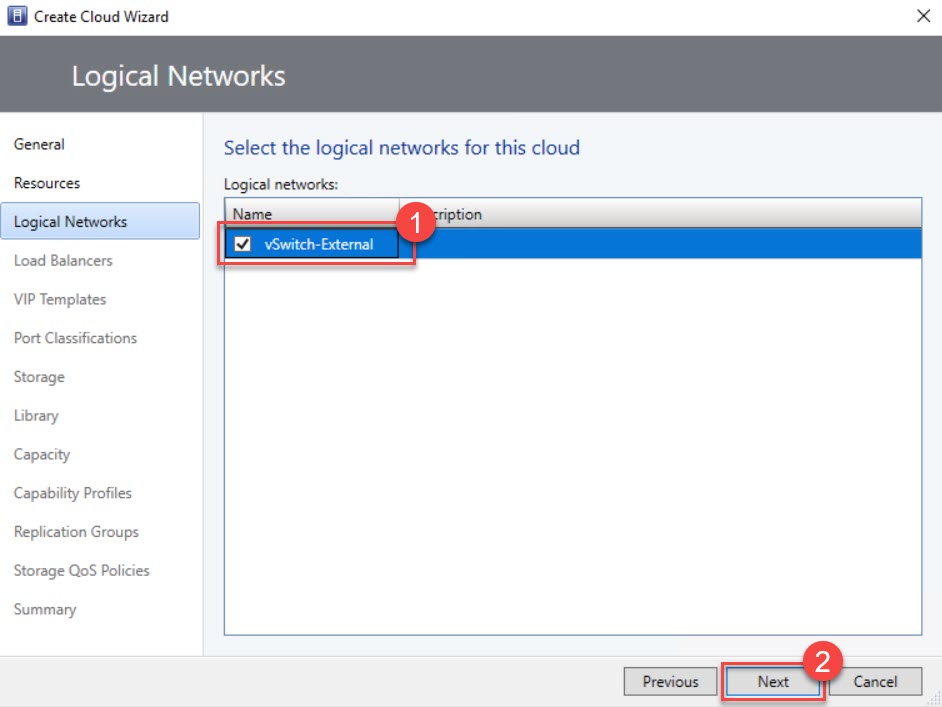
On the Logical Networks page, select the Logical networks you want to make accessible to the private cloud, and then proceed by clicking “Next.”
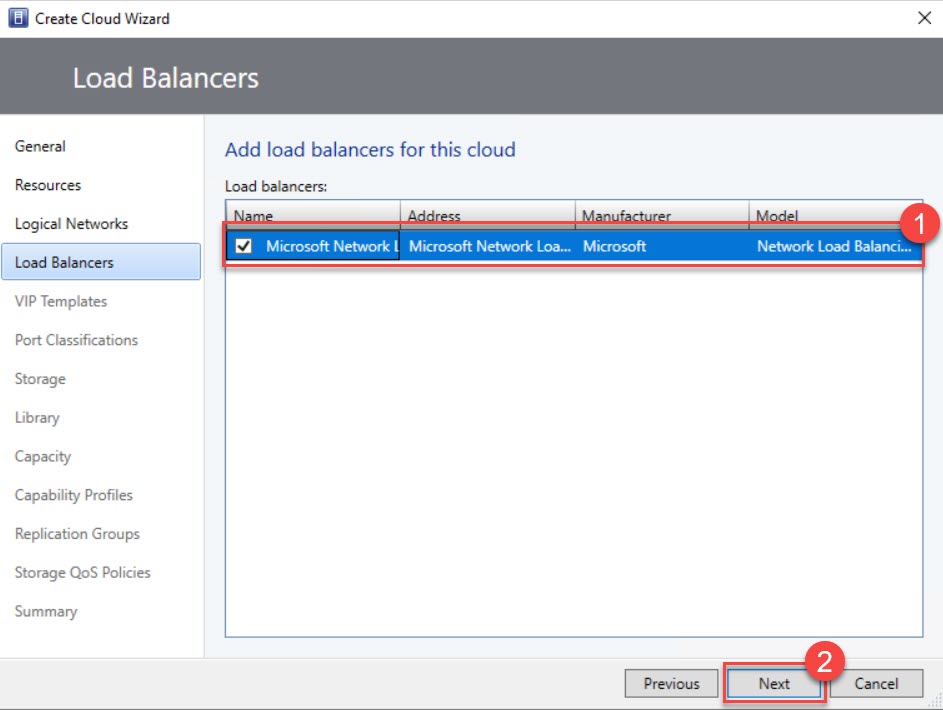
While on the Load Balancers page, select the load balancers you wish to make available to this private cloud, and then click “Next.”
Please note that only those load balancers associated with the selected host groups will be listed.
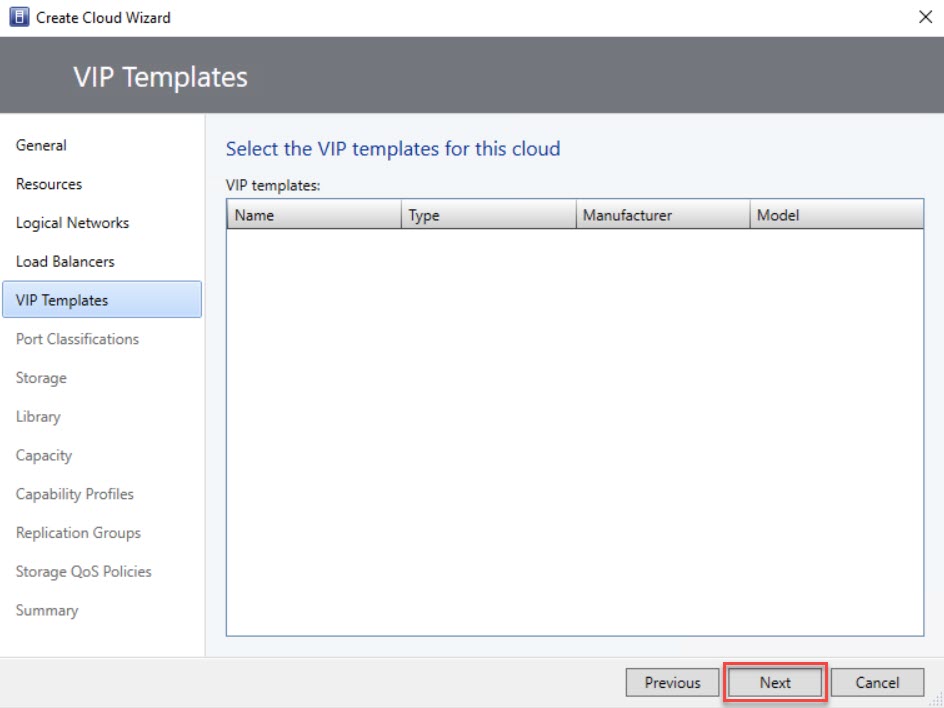
On the VIP Templates page, simply check the boxes next to the VIP templates you wish to include in the private cloud, and then click “Next.”
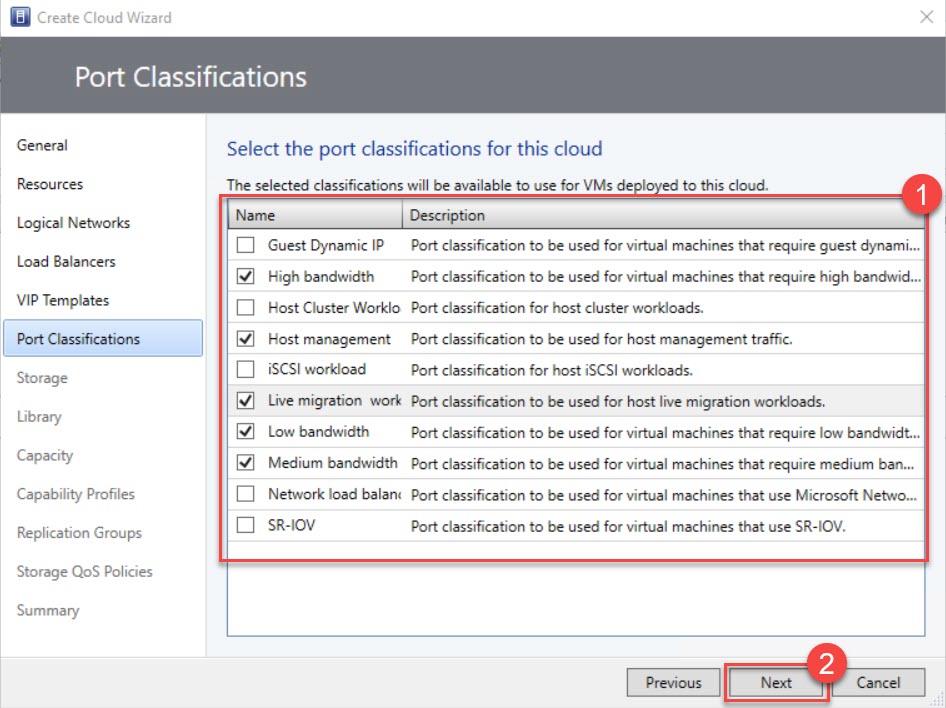
On the Port Classifications page, mark the checkboxes next to each port classification you want to make available in the private cloud, and then proceed by clicking “Next.”
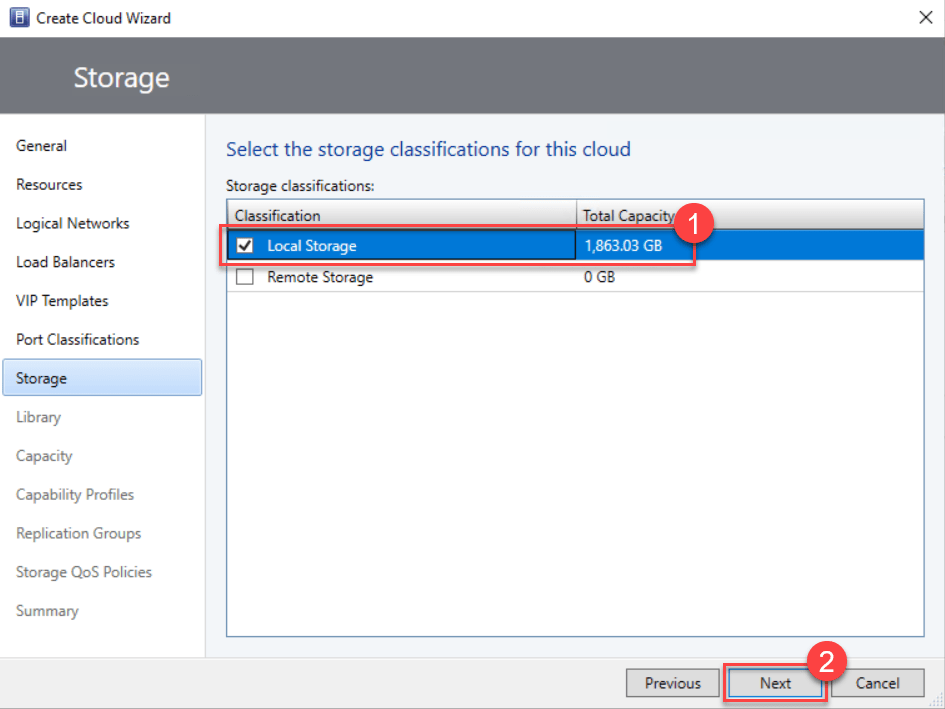
On the Storage page, if you’re managing storage through VMM, simply check the boxes next to the storage classifications you wish to make accessible to the private cloud. Afterward, click “Next.”
It’s important to note that only storage classifications associated with storage pools assigned to the selected host groups will be listed.
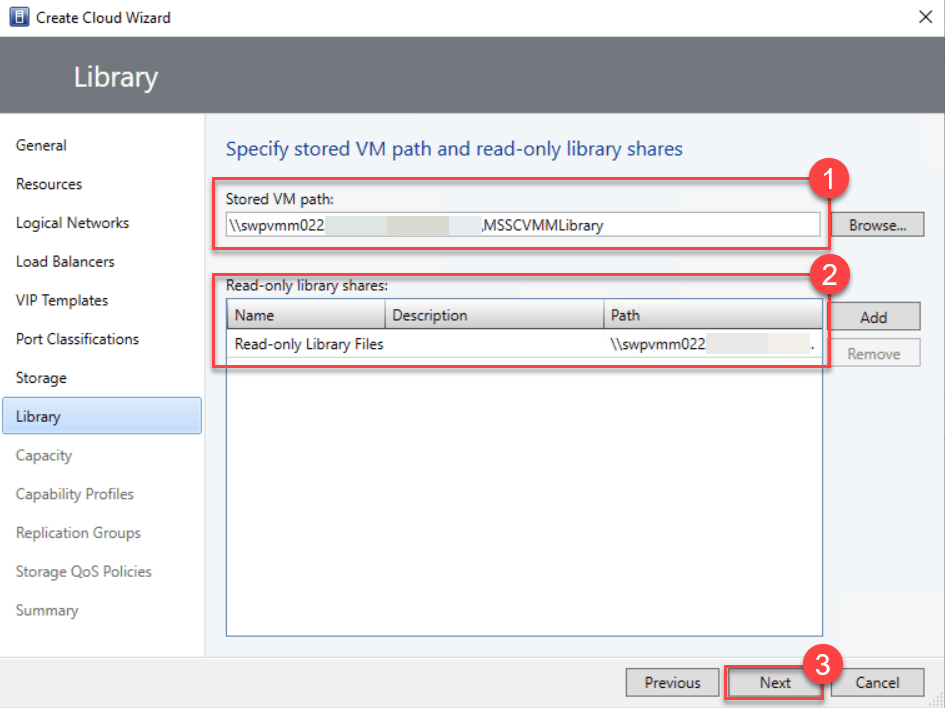
On the Specify stored VM path and read-only library shares page, browse and choose the library share you wish to use for self-service users to store VMs.
If necessary, you can also specify one or more library shares where administrators can provide read-only resources to cloud users. Click “OK,” and then proceed by selecting “Next.”
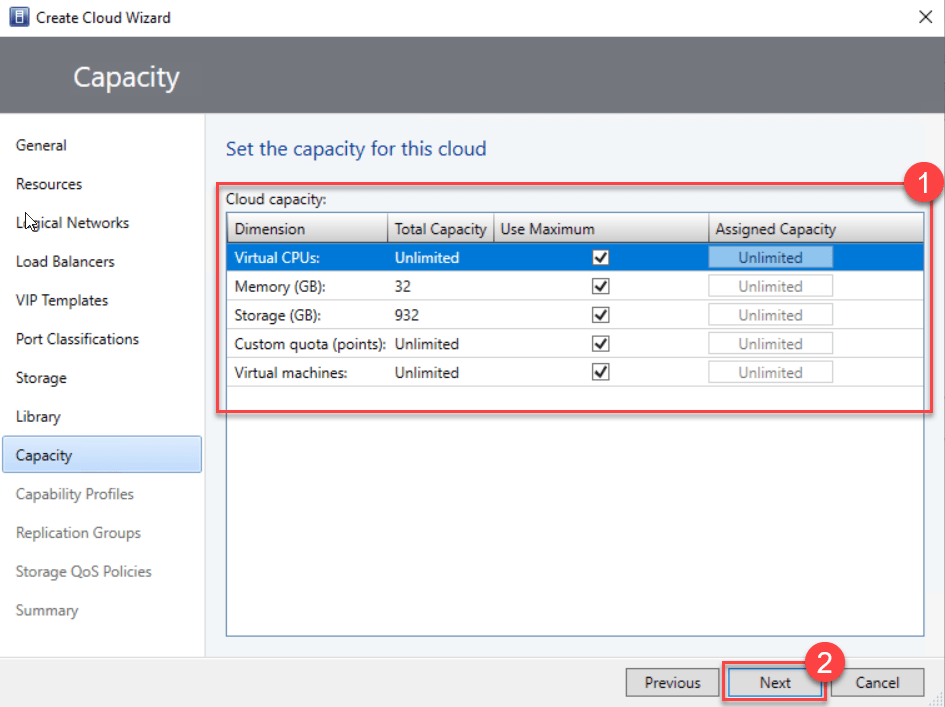
On the Capacity page, set capacity limits for the private cloud, and then proceed by clicking “Next.”
You have the option to either go with the default values or clear the Use Maximum check boxes and set quotas for all or some of the available resources.
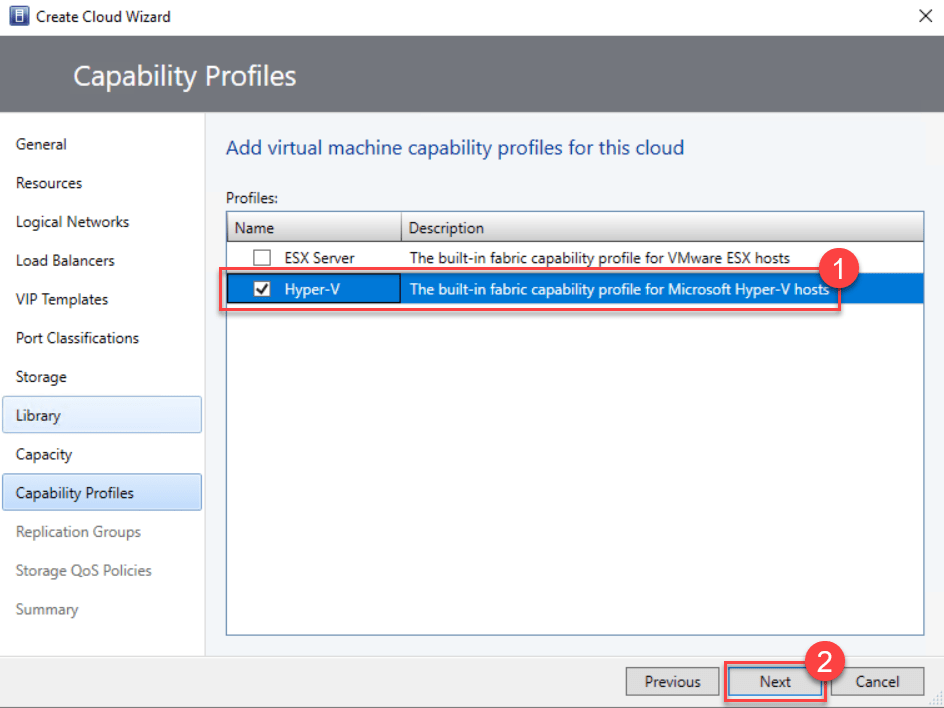
On the Capability Profiles page, simply choose the virtual machine capability profiles you wish to add and then select “Next.” Make sure to select the profiles that align with the type of hypervisor platforms running in the selected host groups.
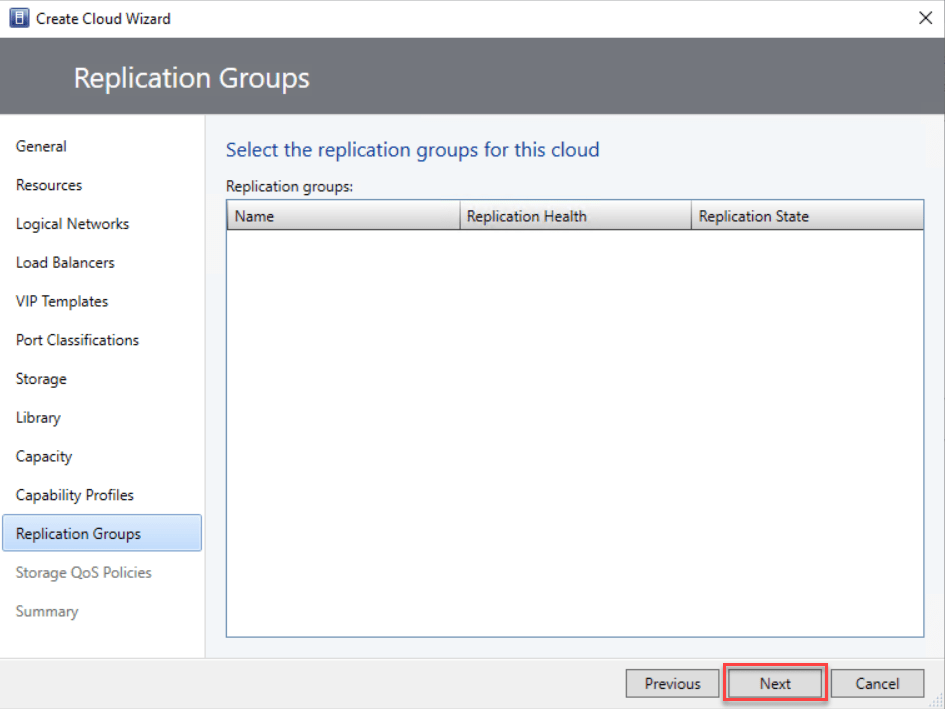
On the Replication Groups page, pick the replication groups you’d like to make accessible within the private cloud and click “Next” to proceed.
On the Storage QoS Policies page, choose the storage QoS policies you want to make available in the private cloud. Then, click “Next” to continue.

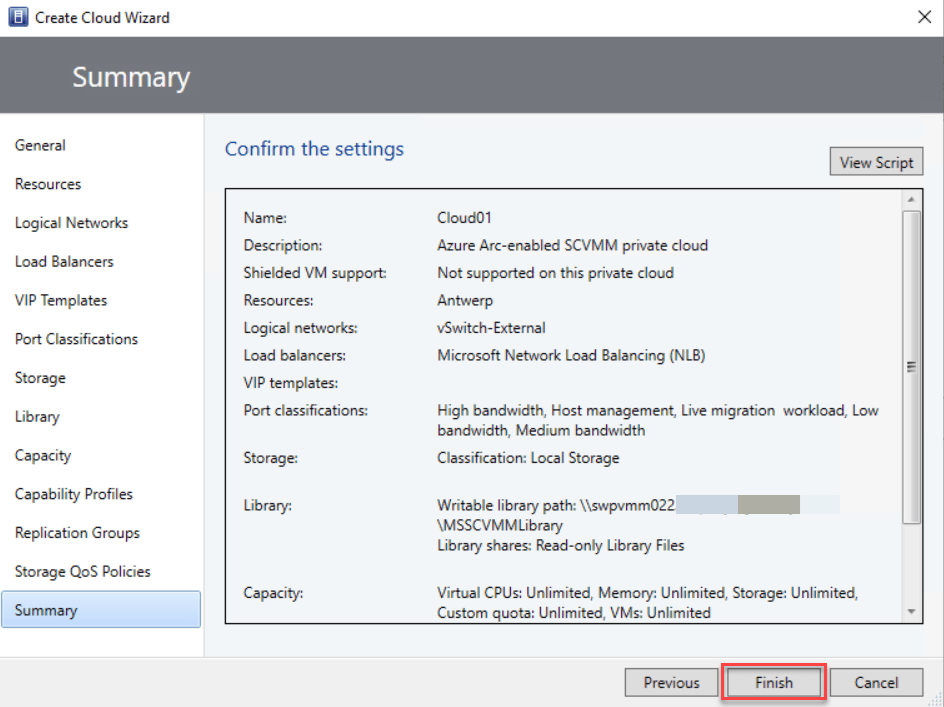
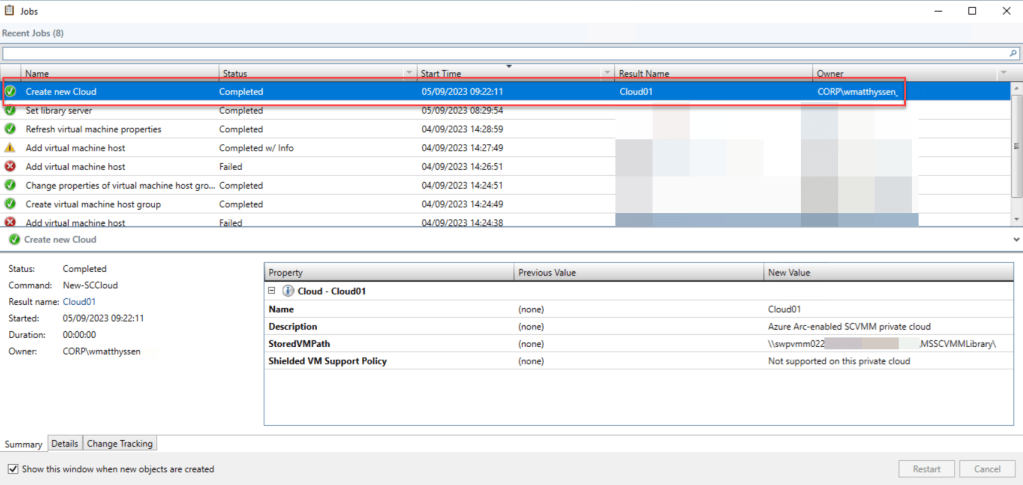
On the Summary page, confirm the settings, and then click “Finish.”
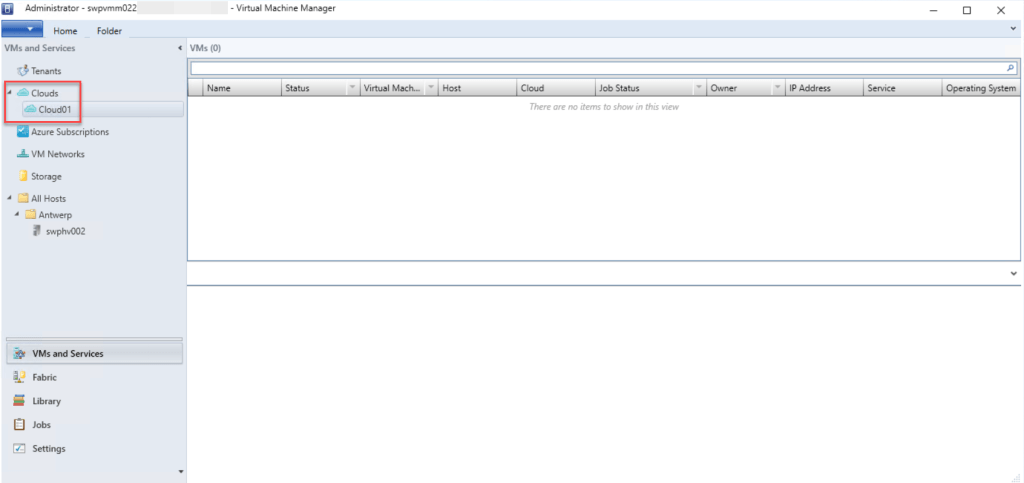
When the job is Completed, you can verify that the private cloud was created by checking VMs and Services and then looking at the Clouds.
Conclusion
If you want to connect your VMM environment to Azure using Azure Arc-enabled SCVMM, one of the prerequisites is having a VMM private cloud already set up within your VMM environment.
To assist you in this process, this step-by-step guide helps you configure this VMM private cloud.
Should you have any questions or suggestions regarding this blog post, feel free to reach out to me through my Twitter handle (@wmatthyssen) or simply leave a comment, and I’ll be more than happy to assist.

Pingback: Azure Back to School 2023: Let’s take a look at Azure Arc-enabled System Center Virtual Machine Manager – Wim Matthyssen